> ## Documentation Index
> Fetch the complete documentation index at: https://docs.streamoid.com/llms.txt
> Use this file to discover all available pages before exploring further.
# Upload Products
> Bring products into Catalogix through files, feeds, or manual entry, then map attributes for channel-ready data.
You can add products to your store through uploads, integrations, or manual entry.
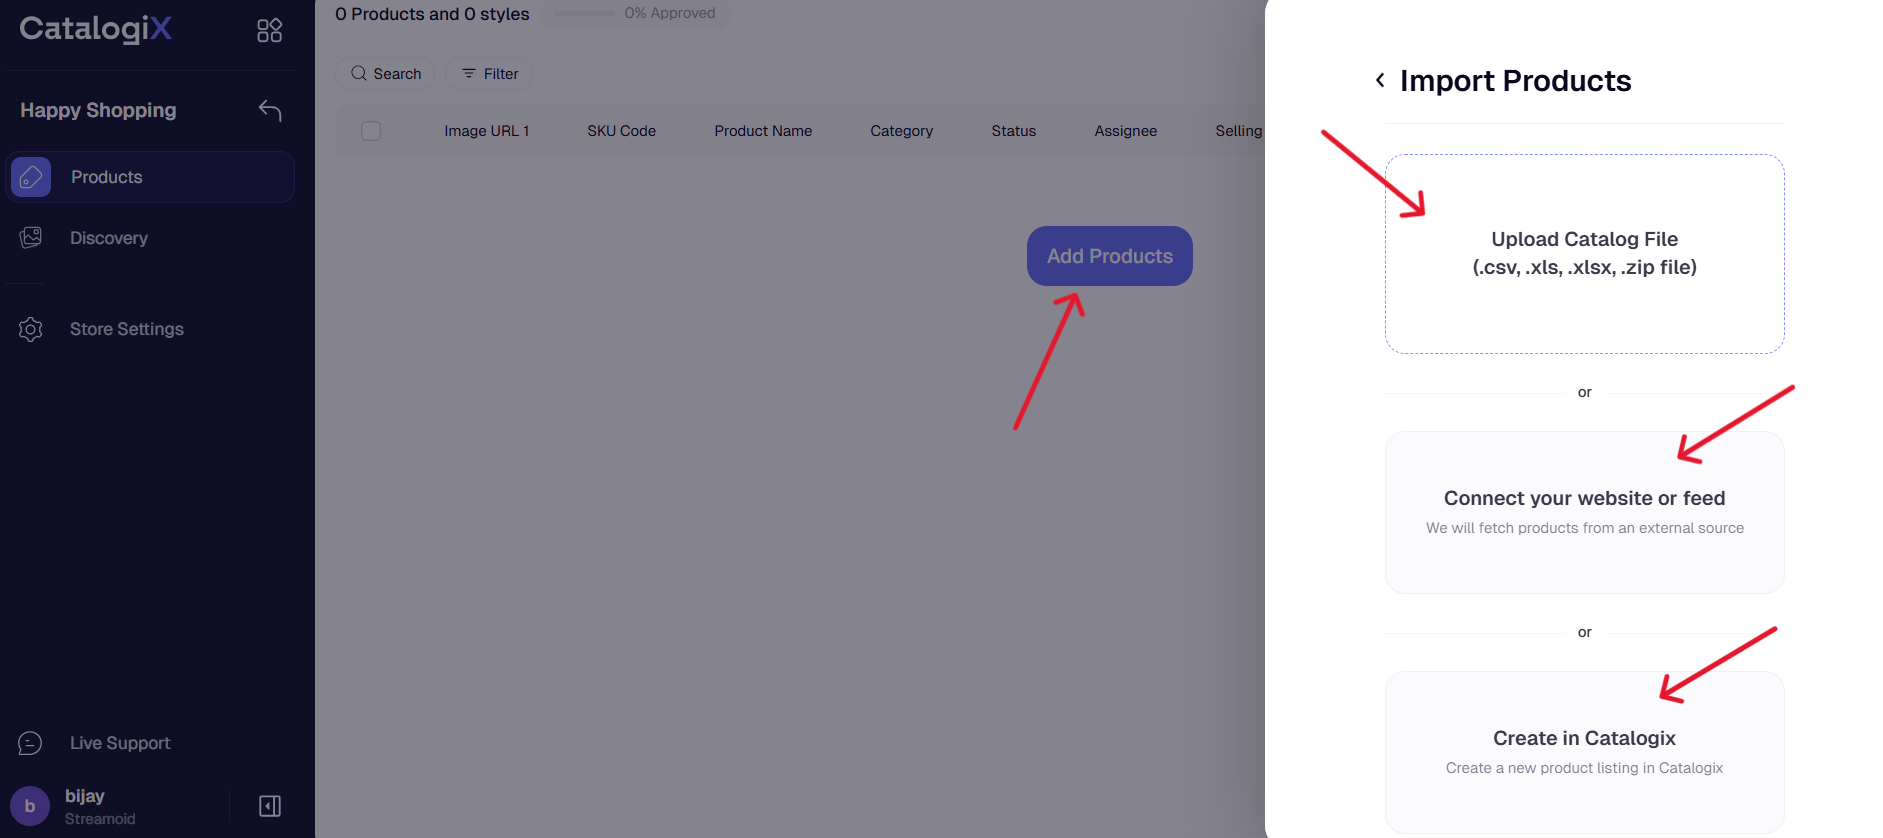
## Add Products Workflow - Uploads (Excel/CSV)
Click **+ Add products** and upload your **Excel (.xls/.xlsx)** or **CSV (.csv)** file to begin importing your products.
Choose **SMP** as your channel, select **Auto-map** as your mapping method, and click **Proceed** to continue to the next step. 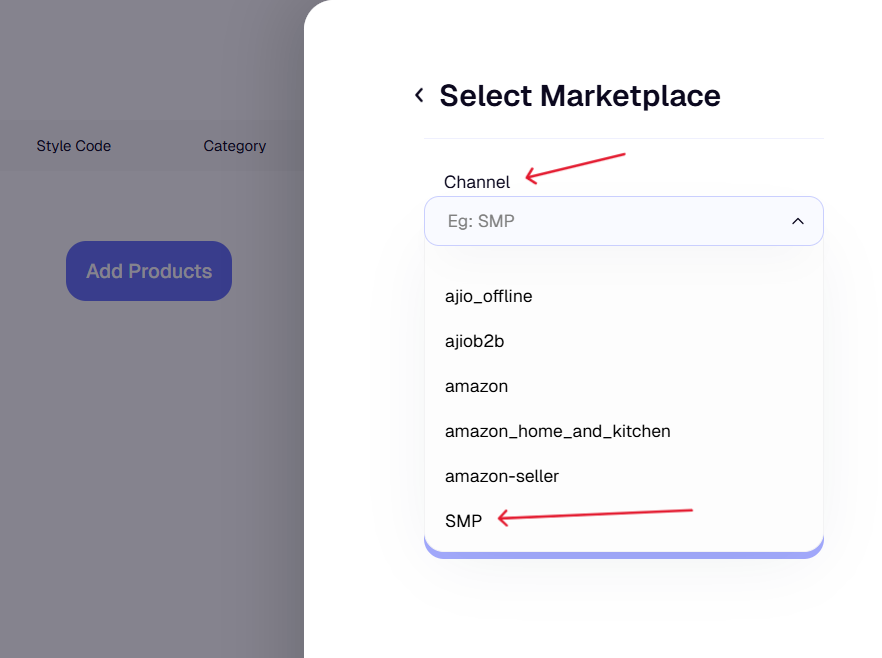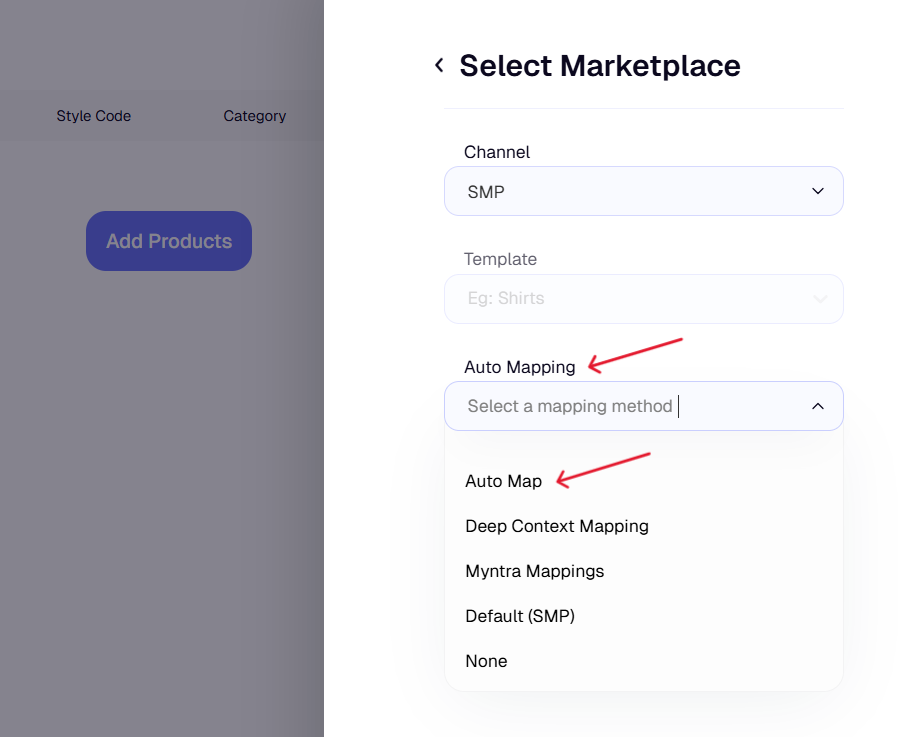
If your file's headers are not in **row 1**, select the correct row that contains your headers. If your headers are already in **row 1**, this step will be automatically skipped. 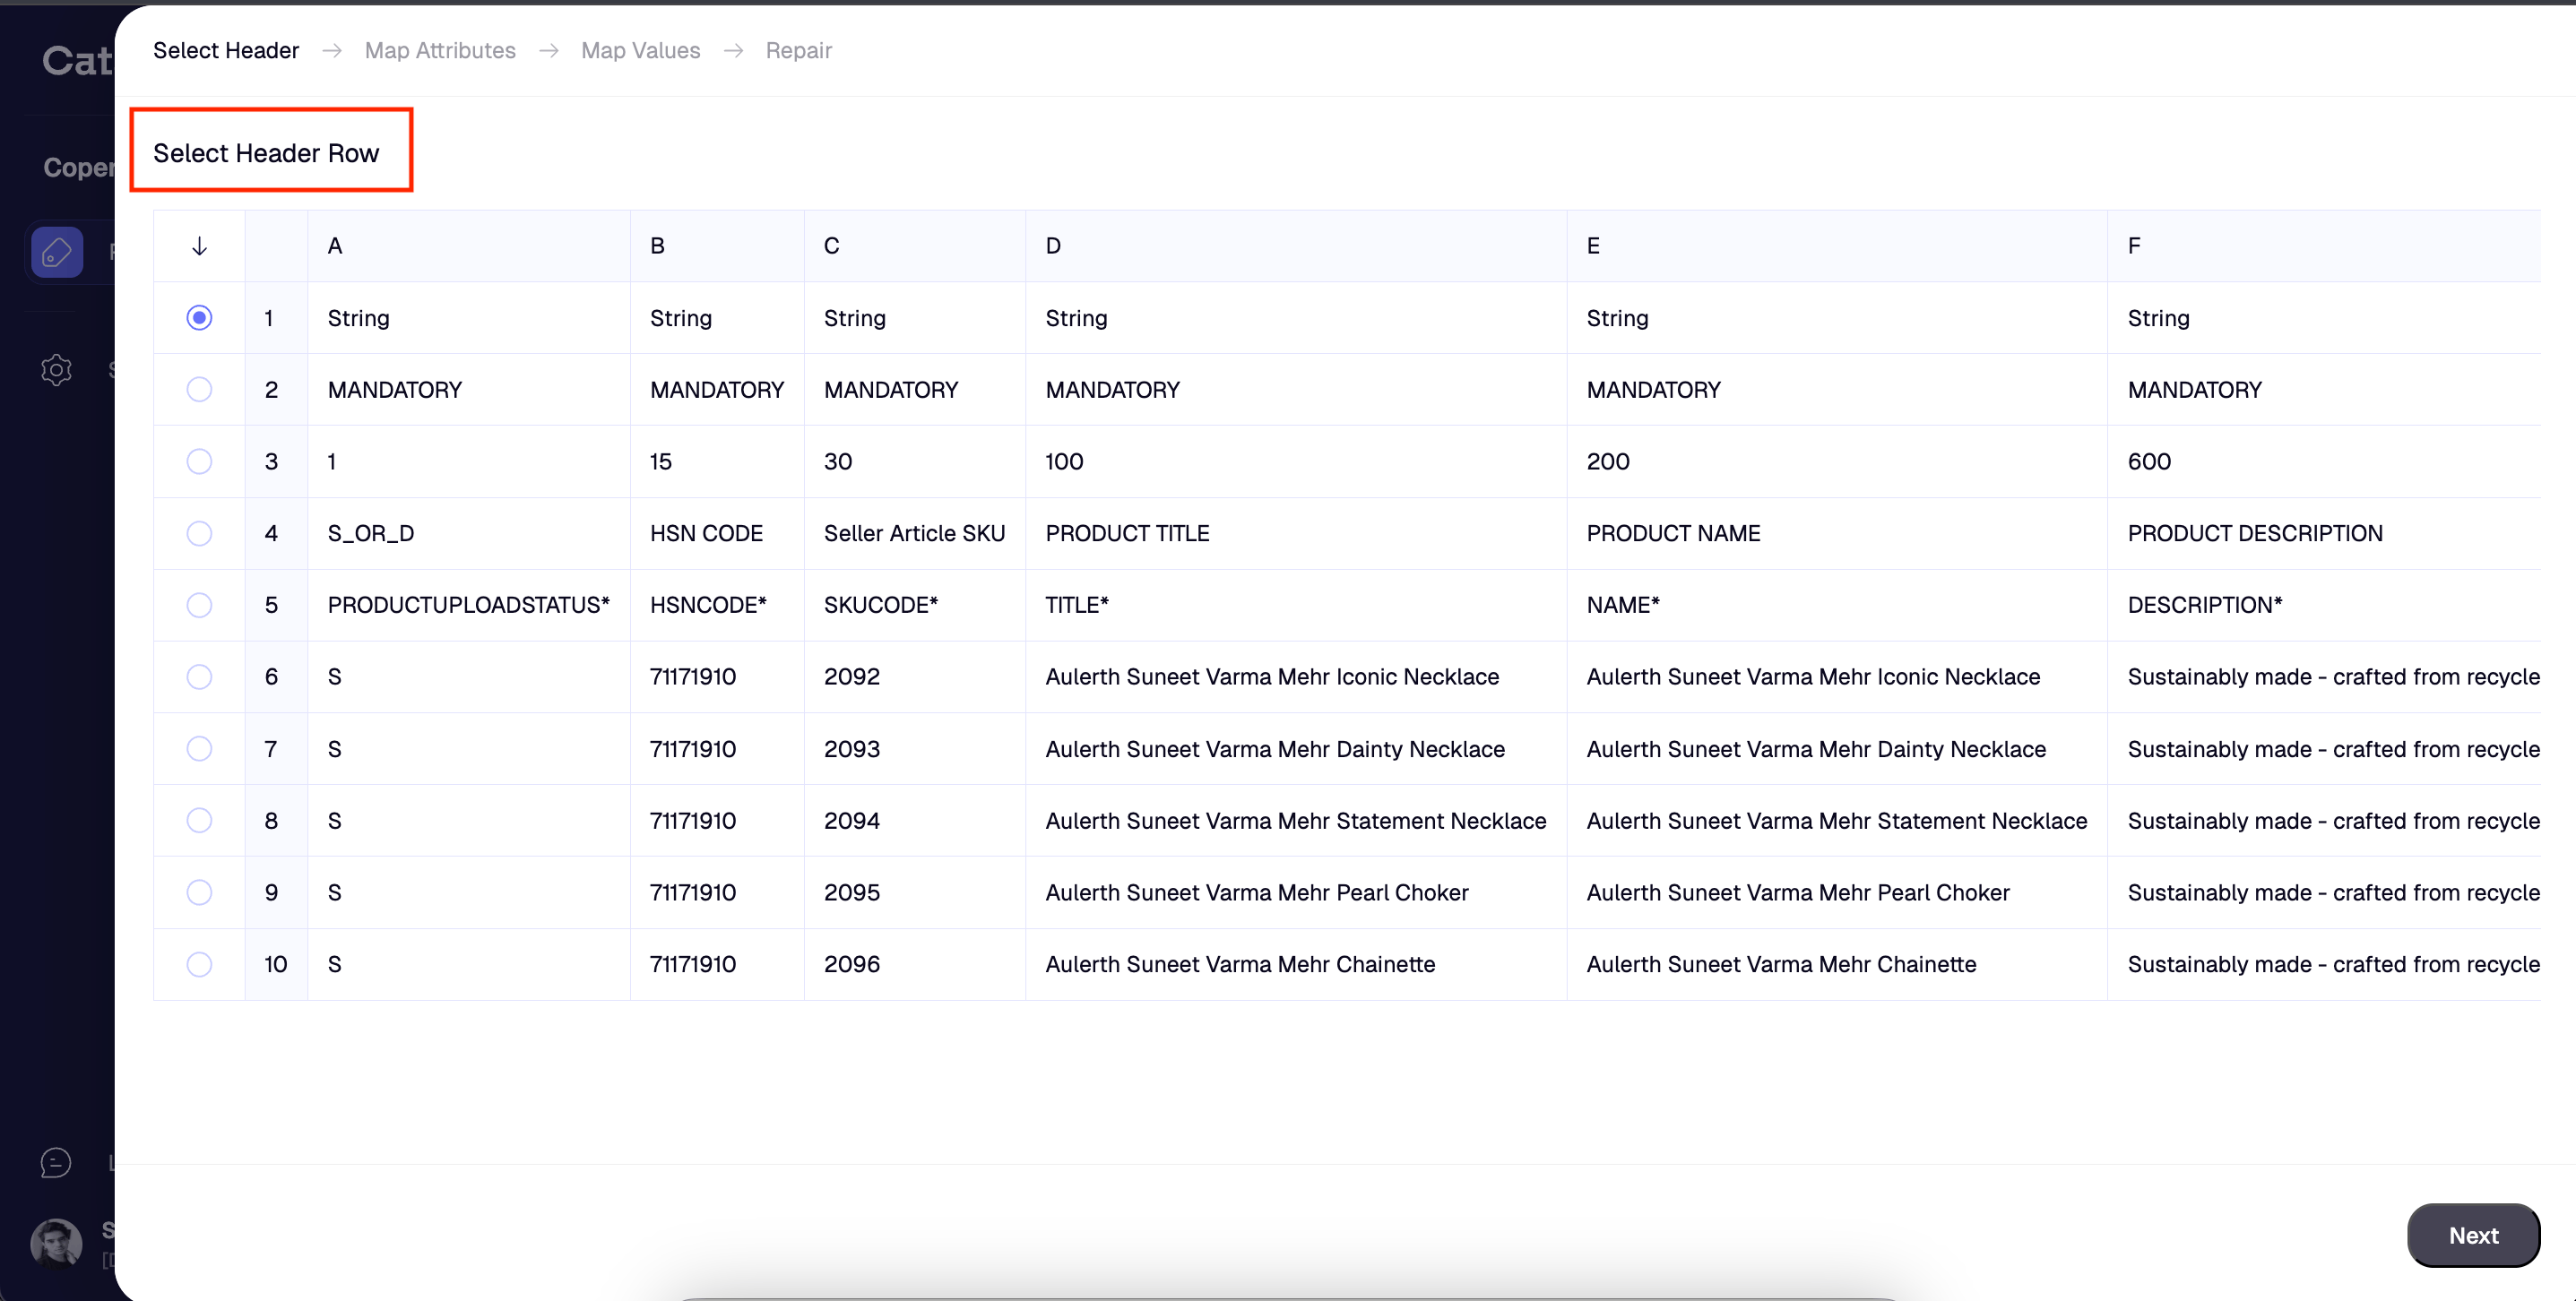
Review all auto-mapped attributes carefully to make sure they match correctly. If everything looks good, you can click **Confirm all** to accept them at once. 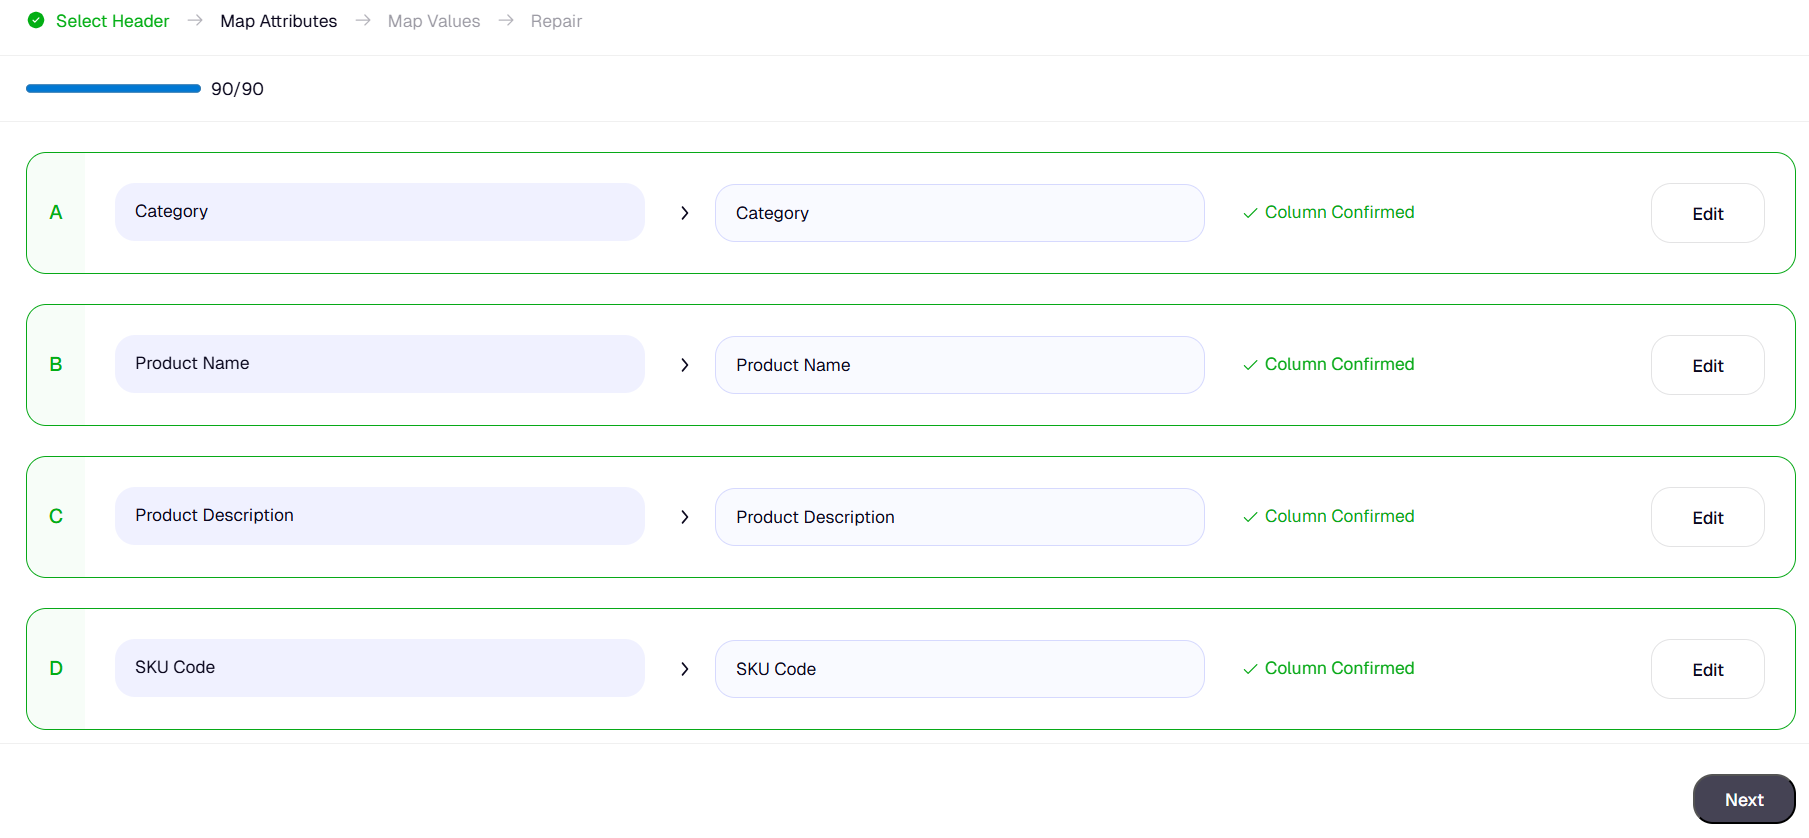
To make changes, click **Edit** or select the correct attribute from the dropdown and confirm. To delete a mapping, click the **Delete** icon. Once you’ve reviewed all mappings, click **Next** to continue.
Any unmapped values will appear at the top of the list. Review each one and either **Map** or **Skip** them as needed. When you’re done, click **Next** to proceed. 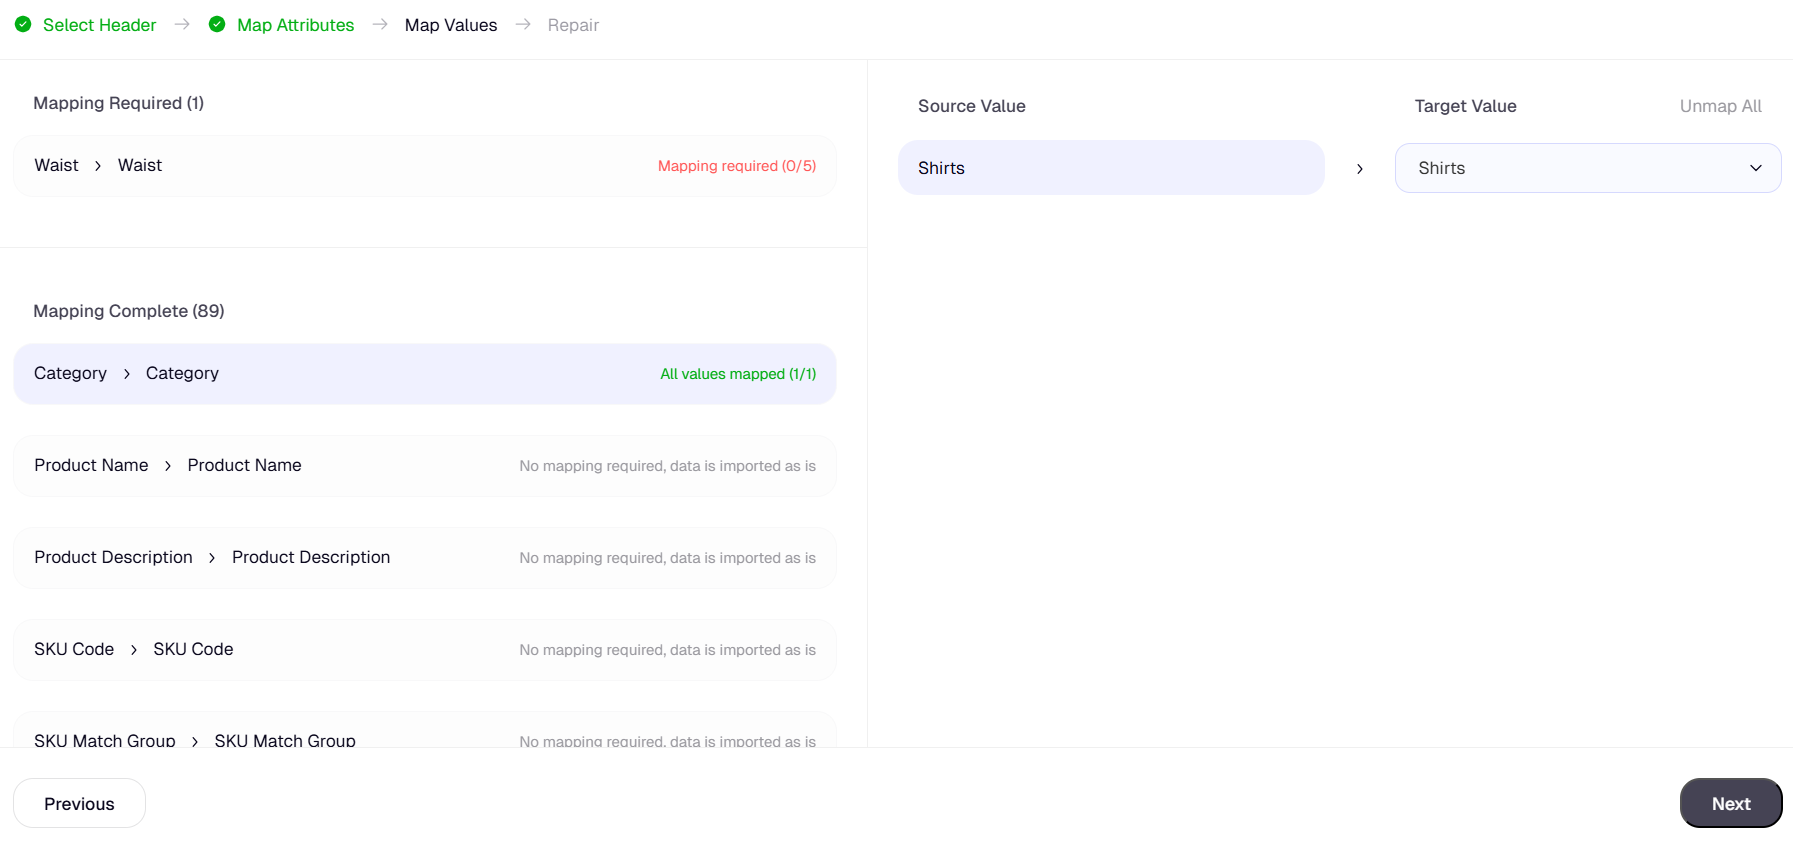
On the **Repair** screen, check for any critical errors such as duplicate SKU codes, as well as warnings that may need attention. Fix any issues if required, then click **Import** to start uploading your products successfully 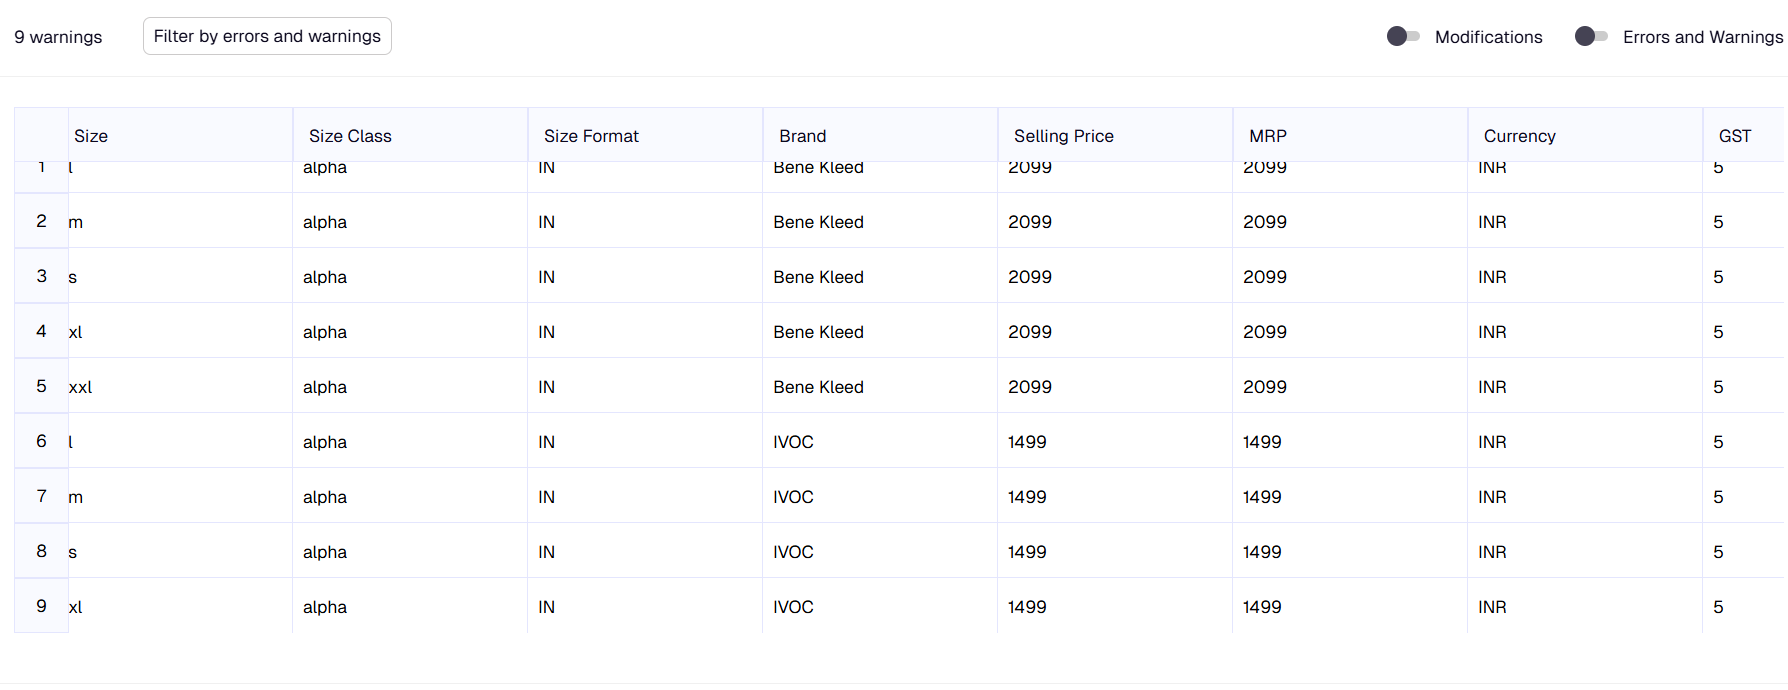
If your Excel file does not include image links, please upload a **.zip** file containing your product images. Make sure the **.zip** is structured correctly — it should have **one main folder**, and inside it, **multiple subfolders**, each named after the **style code** of the product.
Use Deep Context Mapping when you need AI-driven suggestions for complex product attributes.
## Add Products Workflow - Integrations
This import flow allows you to set up an automated connection between Catalogix and an external system such as a PIM (Product Information Management) or PLM (Product Lifecycle Management) platform.
It requires a one-time setup, after which the product data can be imported automatically from the external system into Catalogix.
## Add Products Workflow - Manual Entry
Click **+ Add products** and select the 'Create in Catalogix option'
Add \*\* core information \*\* such as SKU code (mandatory), Department, Category, Activity etc and then click on save.
Inside the product display page, switch to the multimedia tab and upload yout product images.
Use the same store across lots to ensure your don't have to keep repeating the mapping