> ## Documentation Index
> Fetch the complete documentation index at: https://docs.streamoid.com/llms.txt
> Use this file to discover all available pages before exploring further.
# Quickstart
## Overview
This section gives a quick overview of working with catalogix. We have given a walkthrough of the steps from creating an account to exporting the processed files from the tool.
Go to the url: [https://dashboard.catalogix.ai/](https://dashboard.catalogix.ai/)
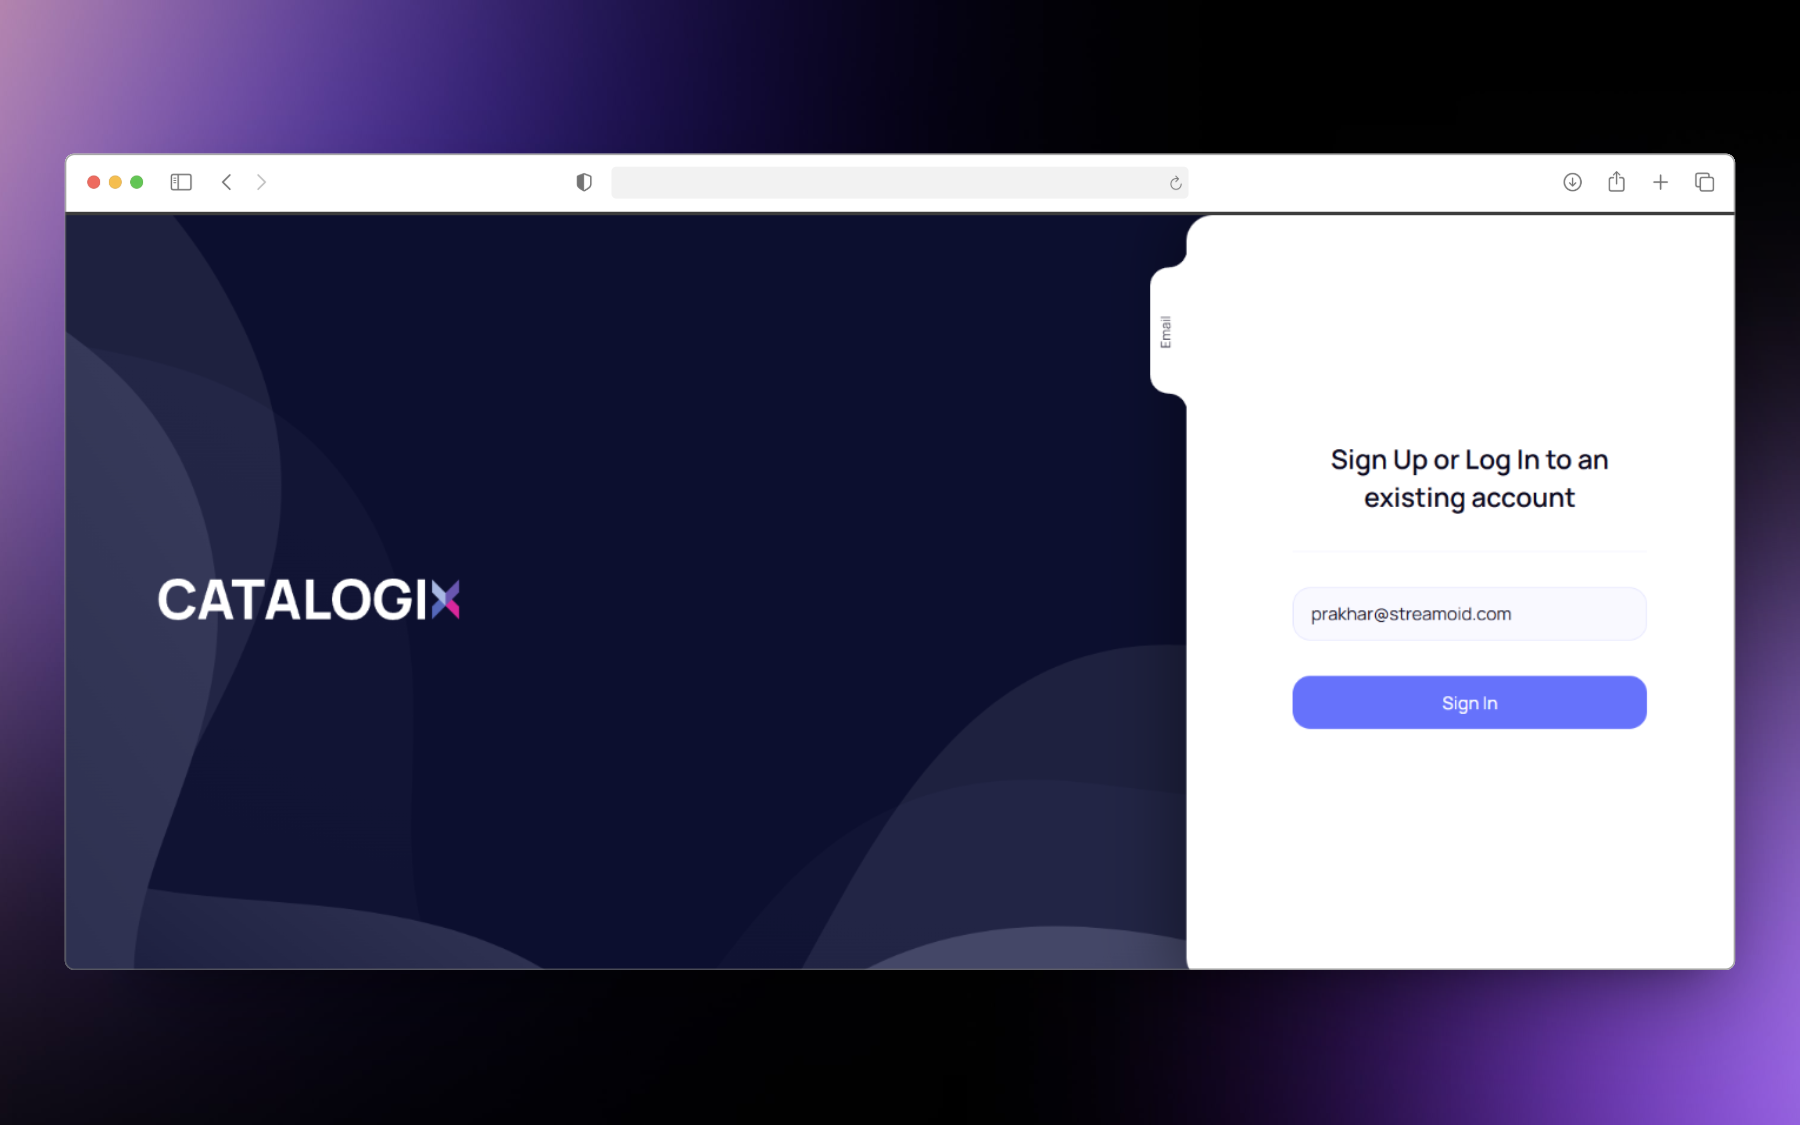
Enter your e-mail id for registering on the tool.
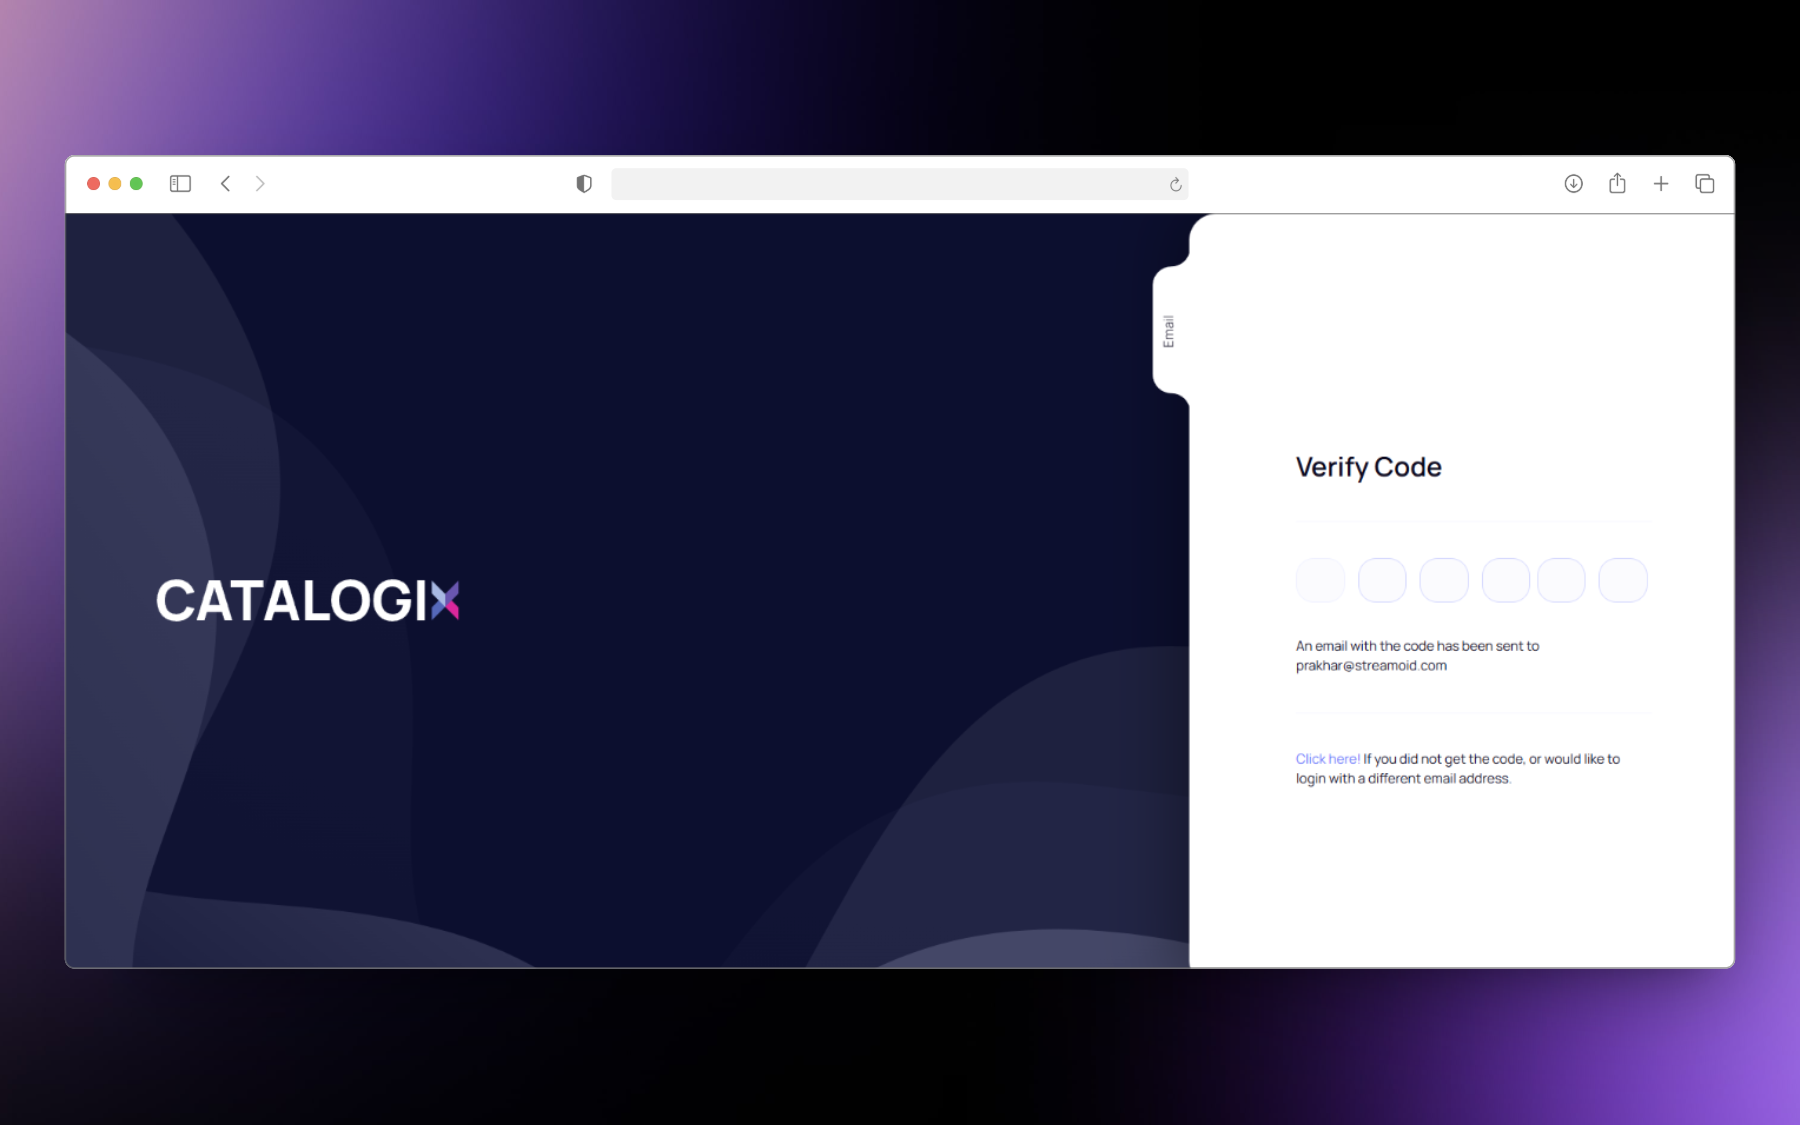
 Enter the OTP received on your registered e-mail id.
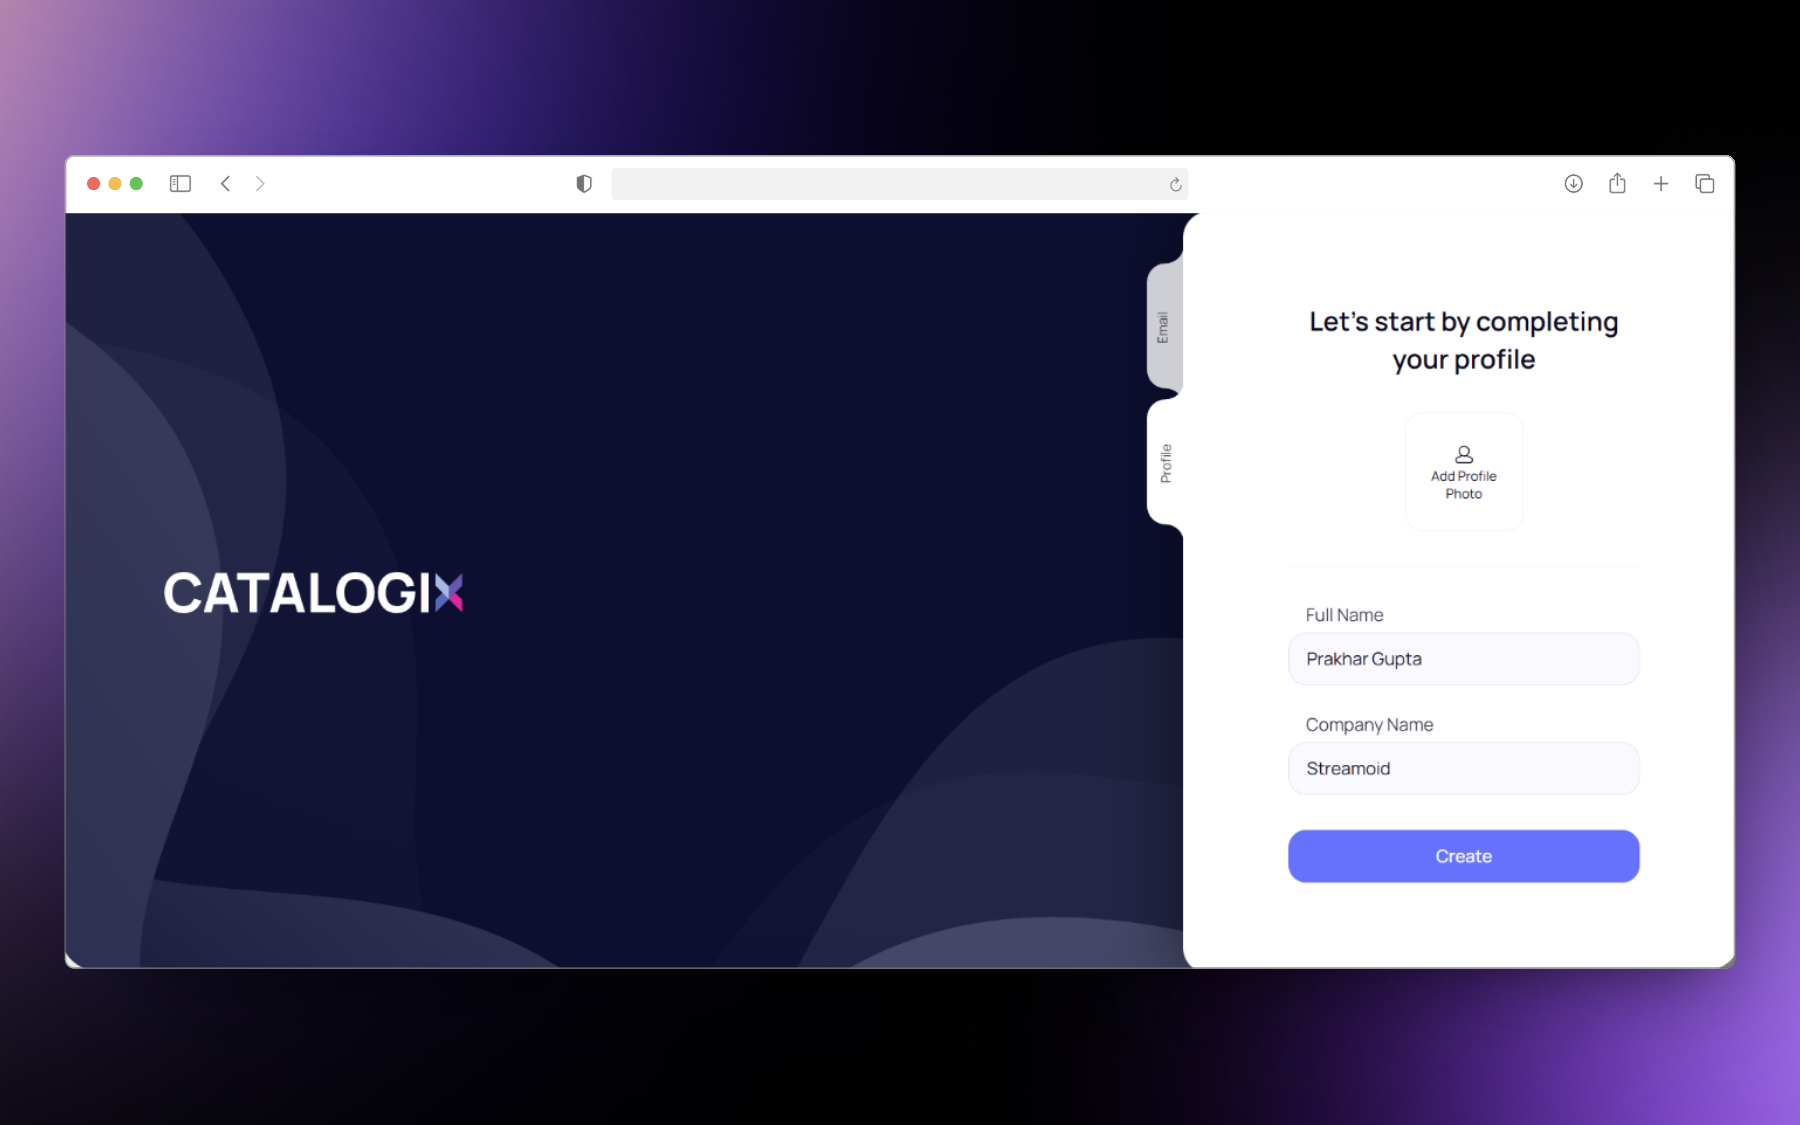
 Complete your profile by entering your name and company's name. Then click on create.
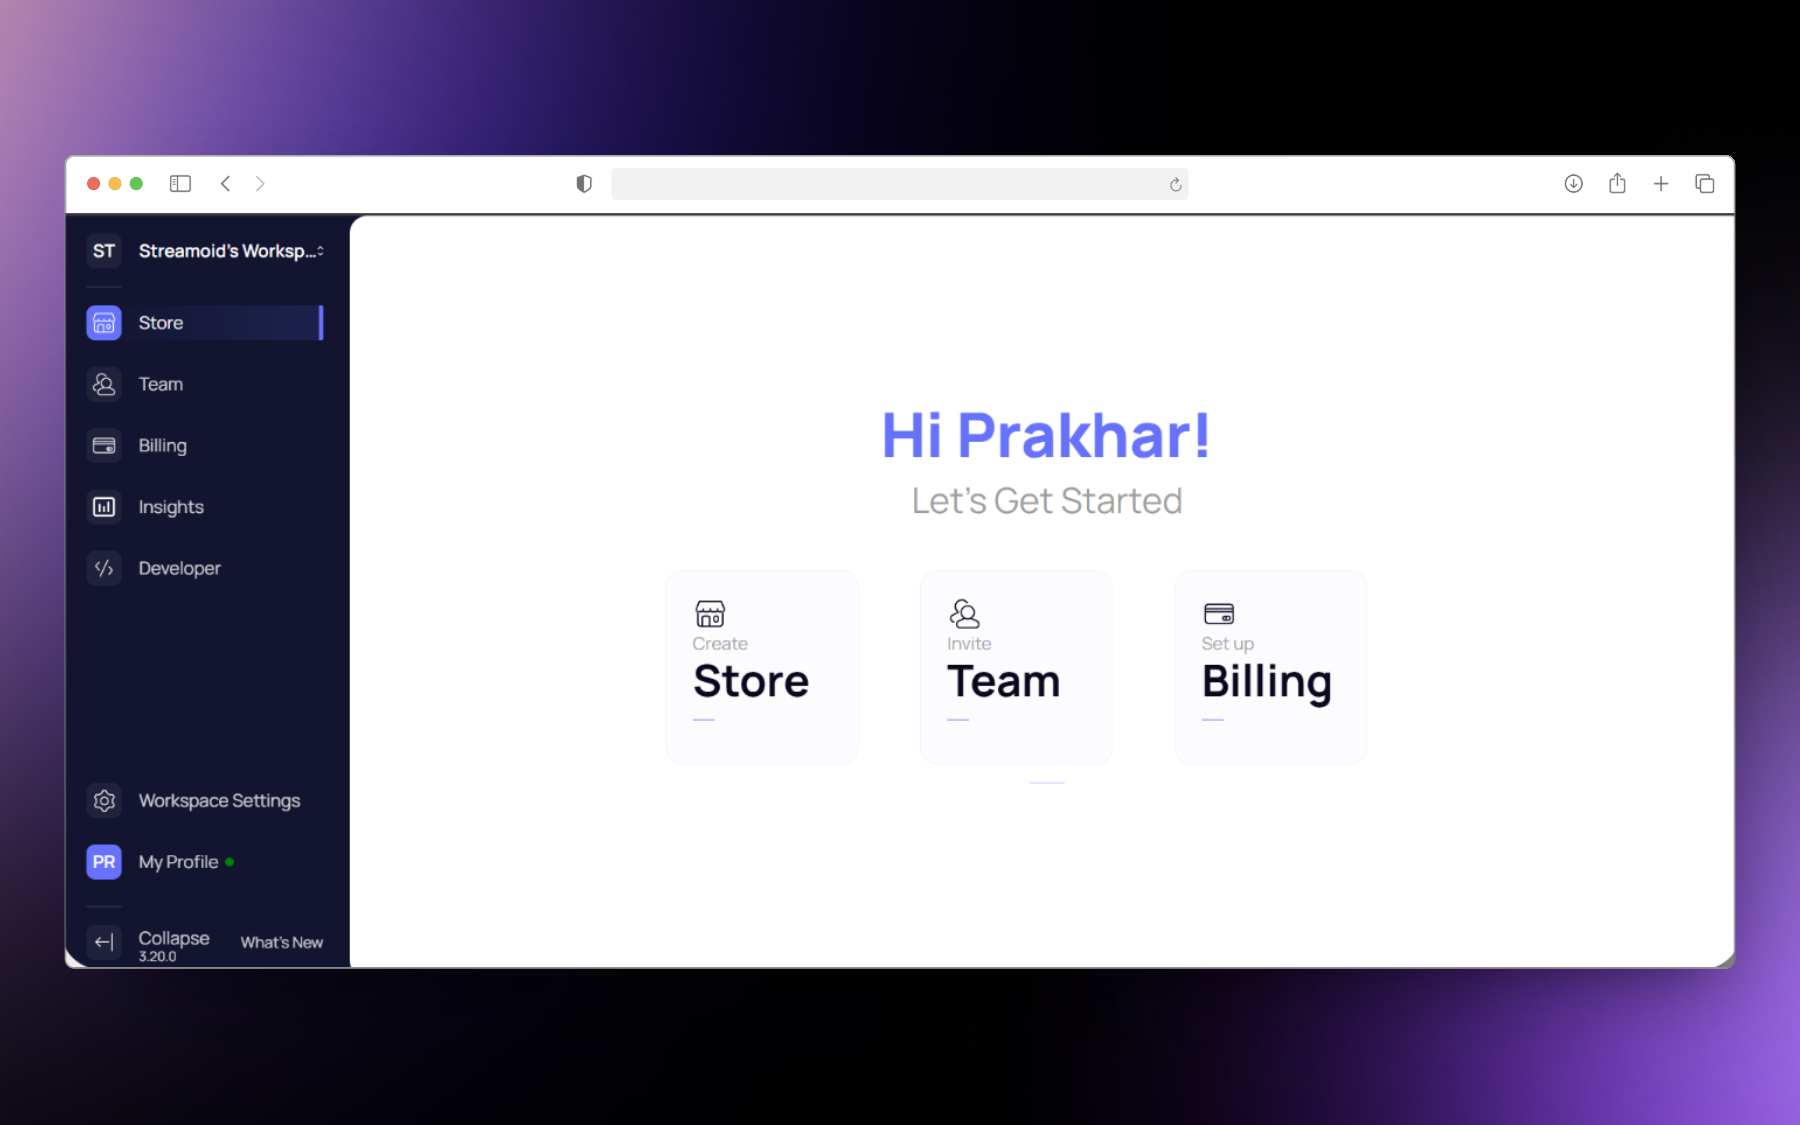
 Congratulations your account is now ready to use.
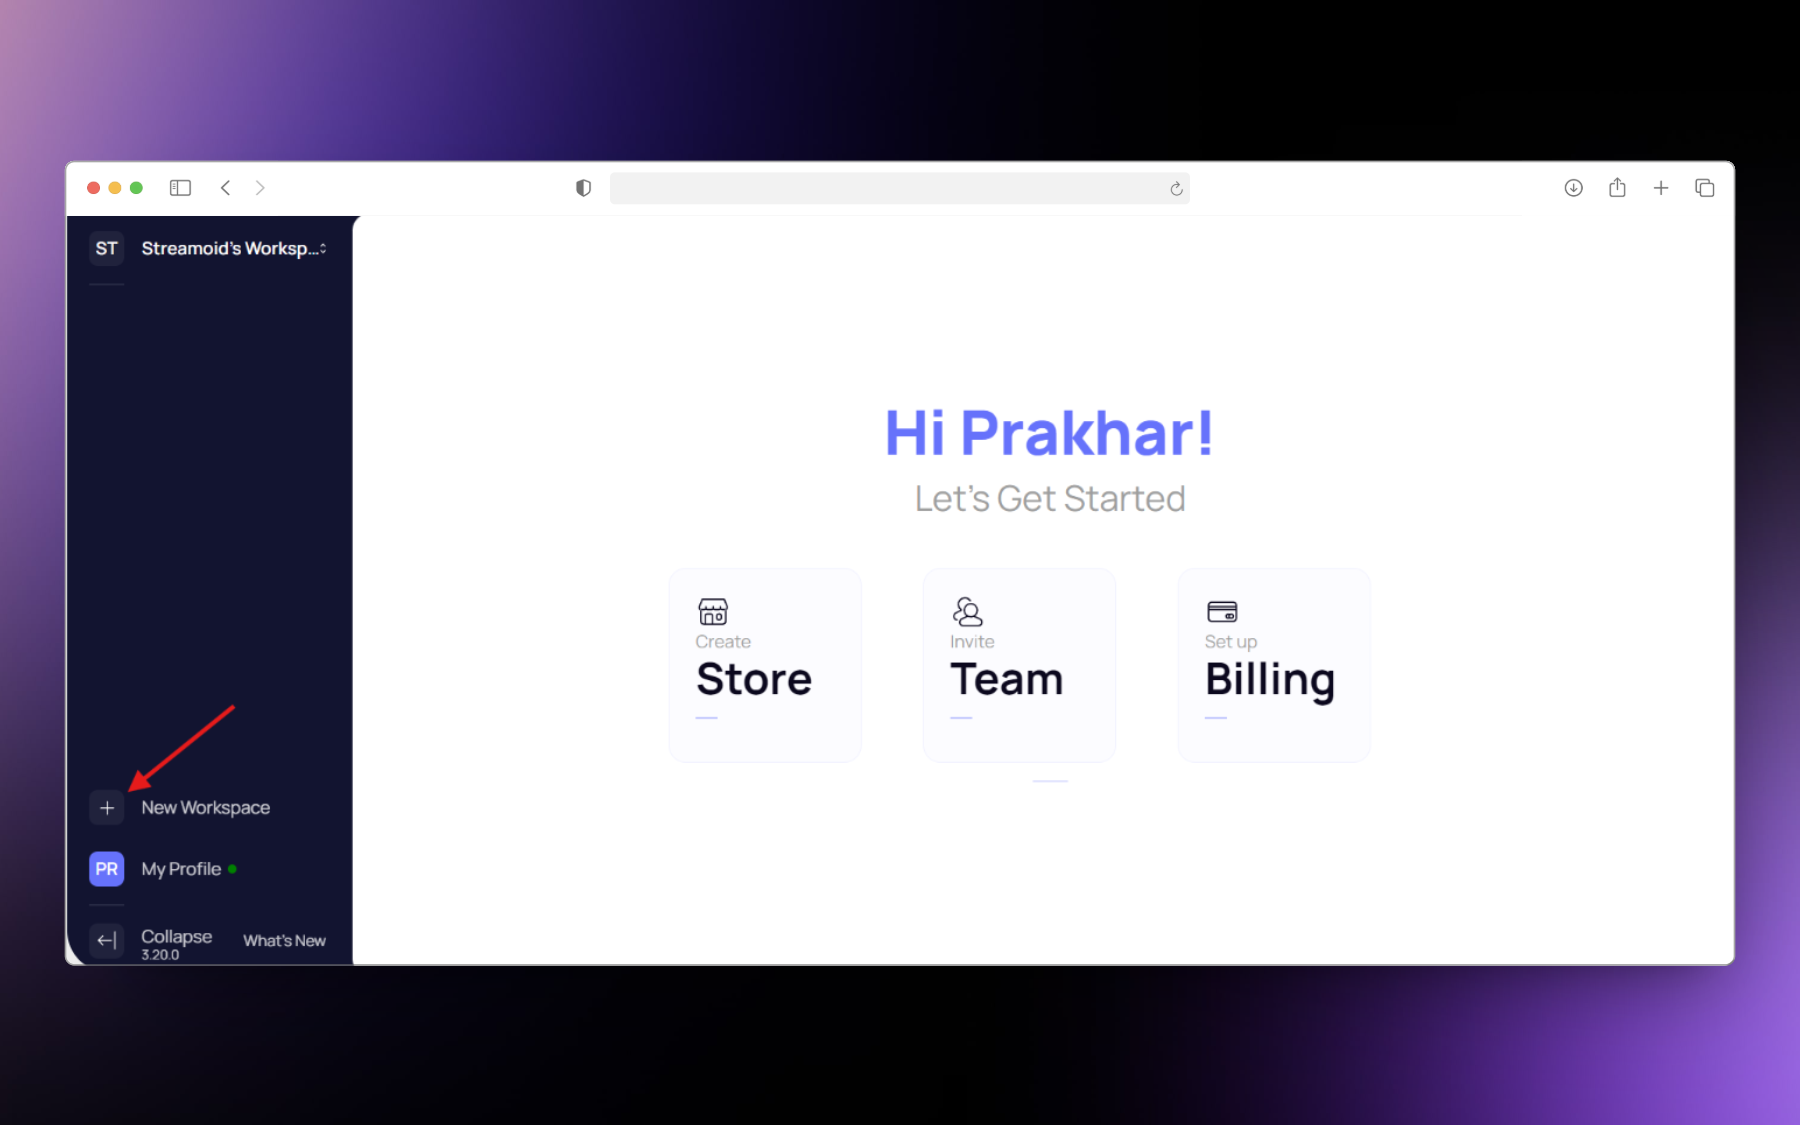
Click on the + button on the new workspace section to create a new workspace.
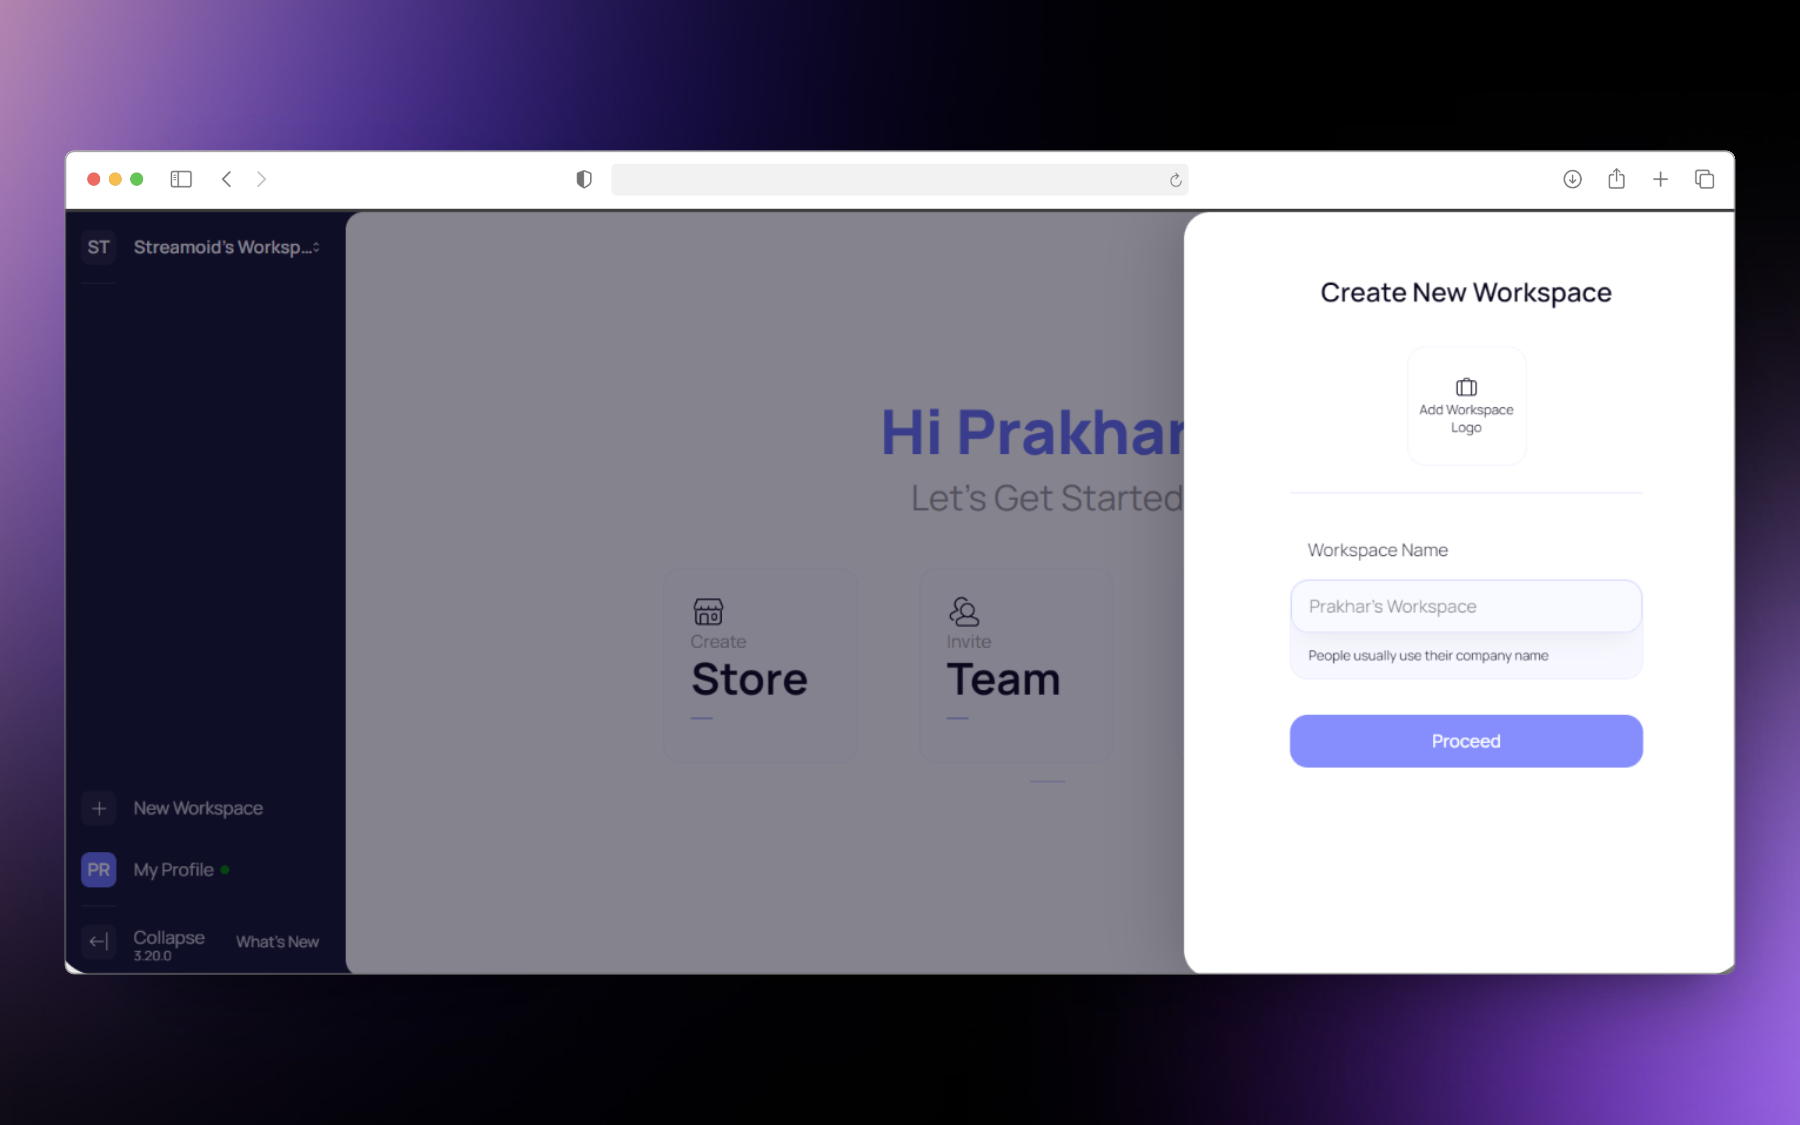
 Give a name to the workspace and click on proceed. You also have the option of adding your company logo to the workspace.
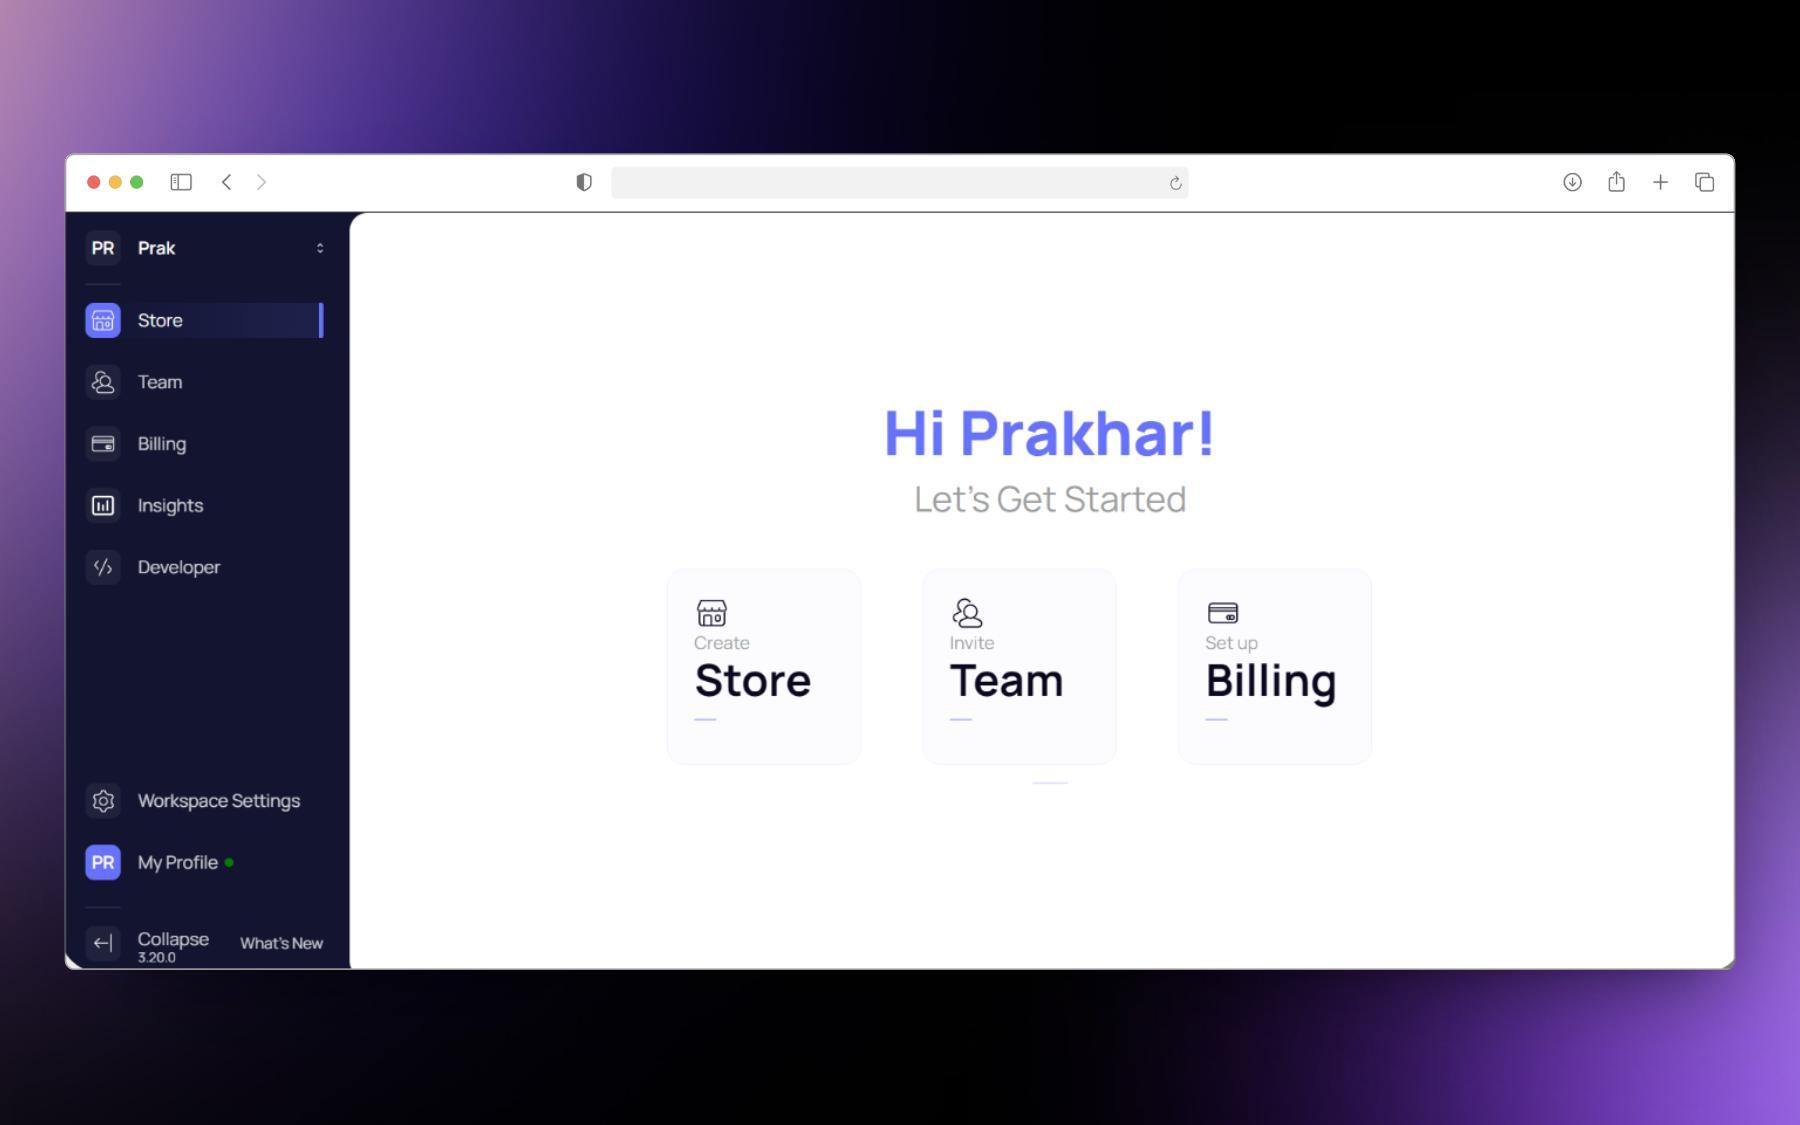
 Your new workspace is ready to use.
 **Step 1: Create a workspace.**
1. Click on the + button on the new workspace section to create a new workspace.
2. Give a name to the workspace and click on proceed. You also have the option of adding your company logo to the workspace.
3. Your new workspace is ready to use.
**Step 2: Creating a store on Catalogix.**
**Step 1: Create a workspace.**
1. Click on the + button on the new workspace section to create a new workspace.
2. Give a name to the workspace and click on proceed. You also have the option of adding your company logo to the workspace.
3. Your new workspace is ready to use.
**Step 2: Creating a store on Catalogix.**
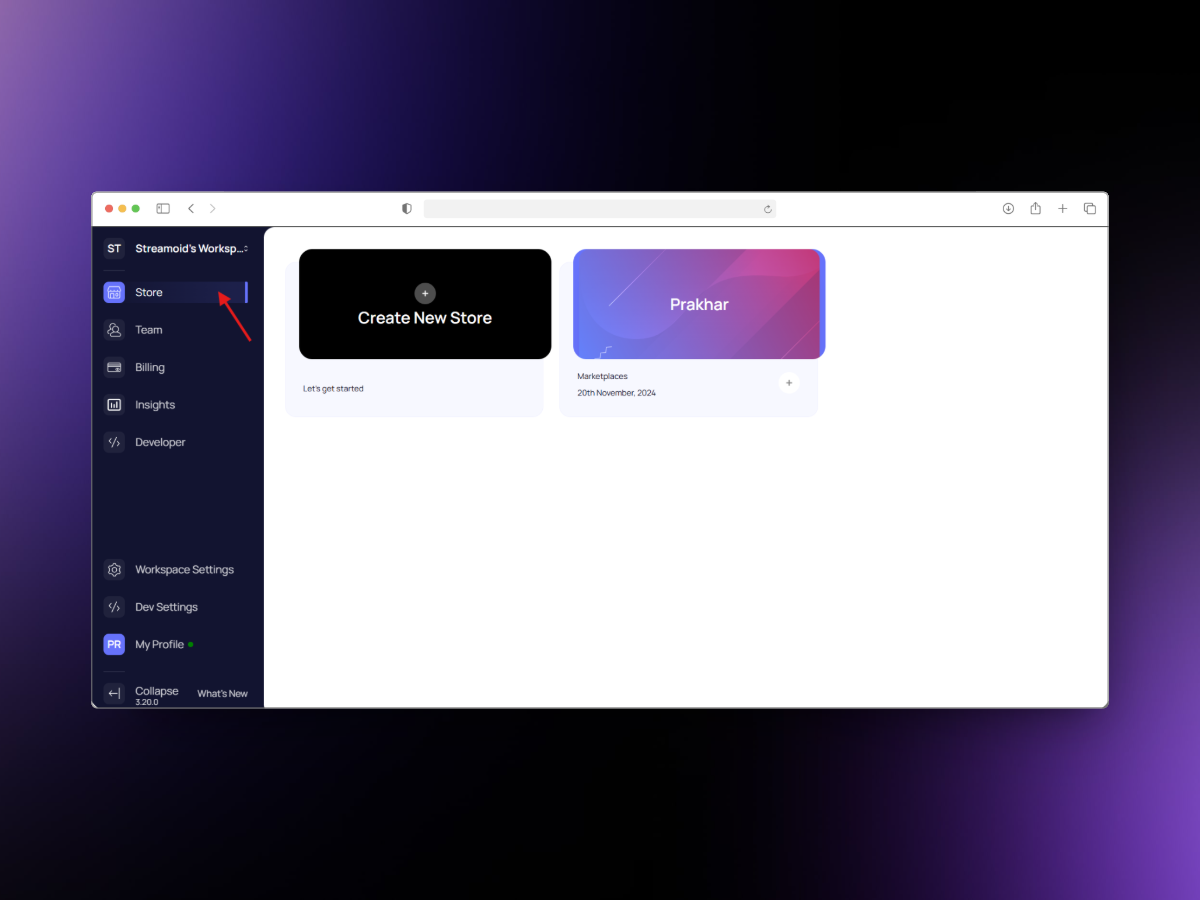
1. For creating a new store, go to the **store** section under the workspace and then click on the **Create New Store** button.
 2. Enter a name for the store.
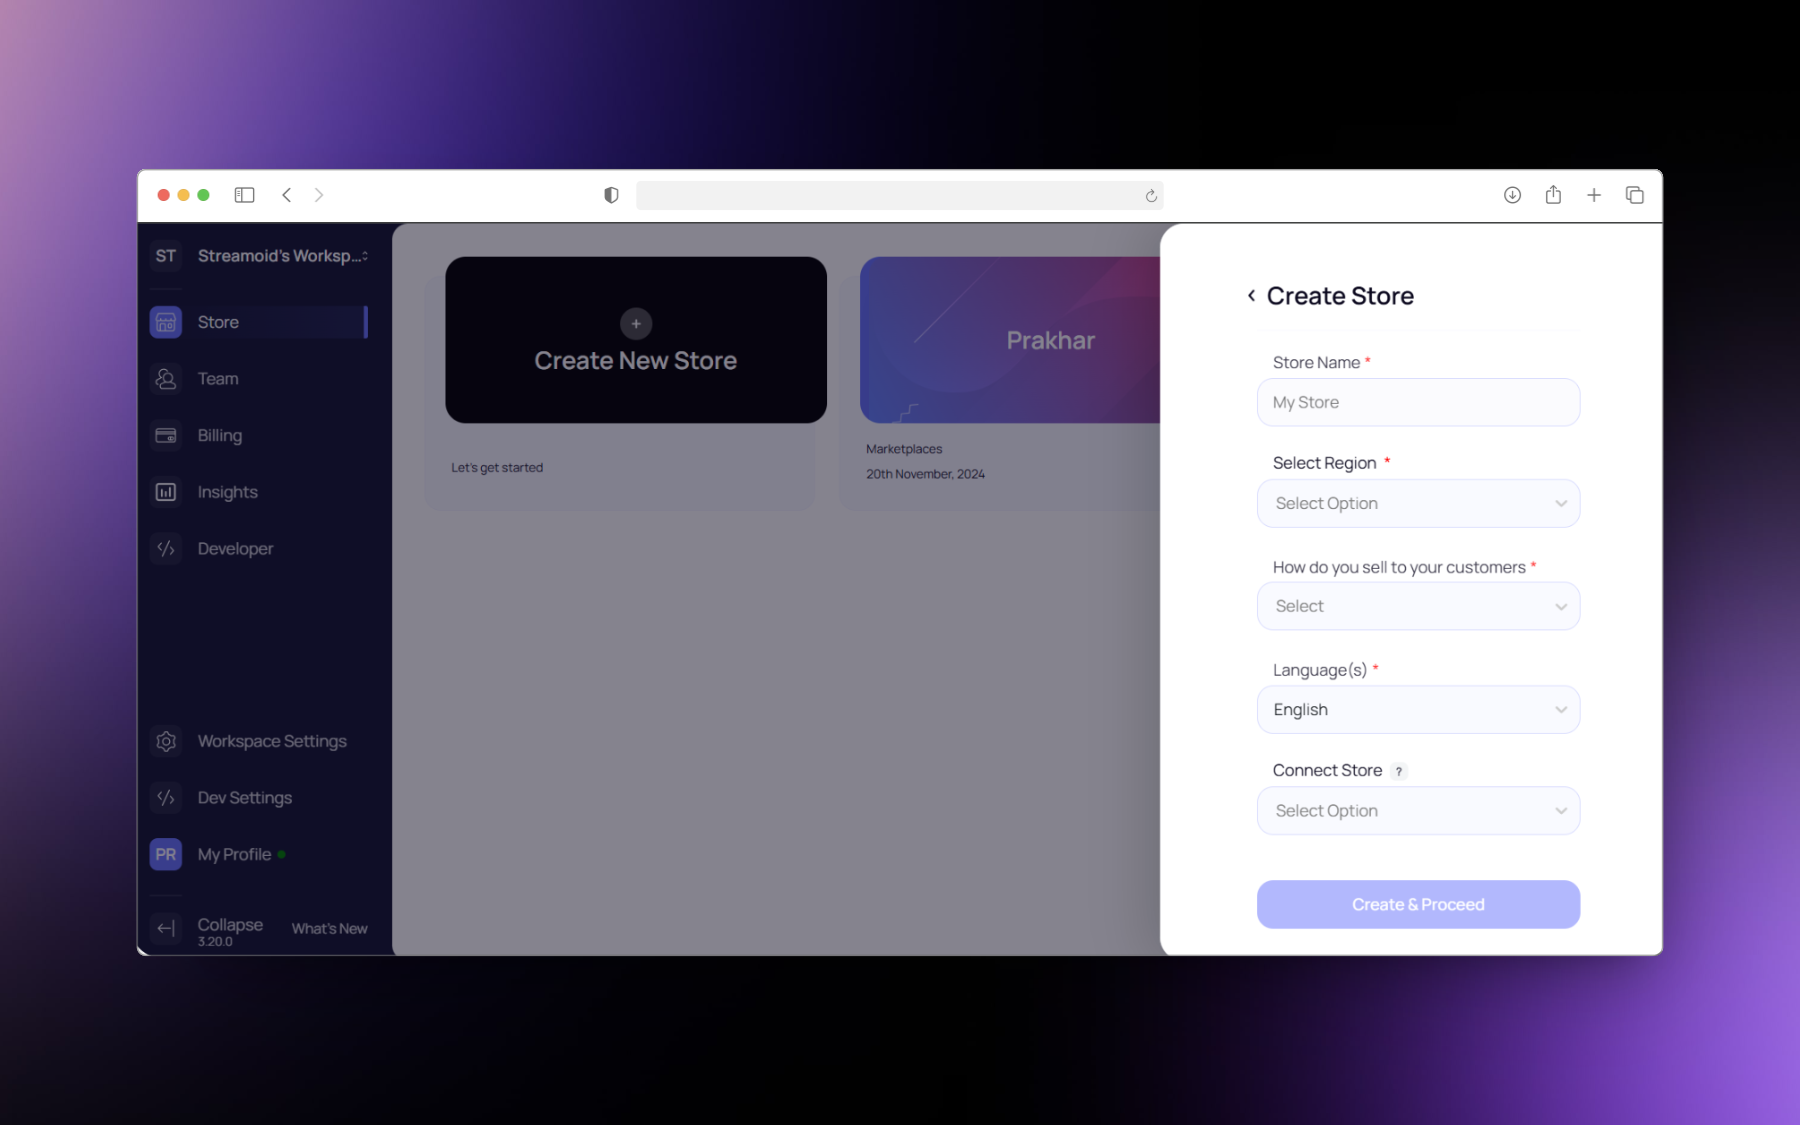 3. Select a region in which you want to sell.
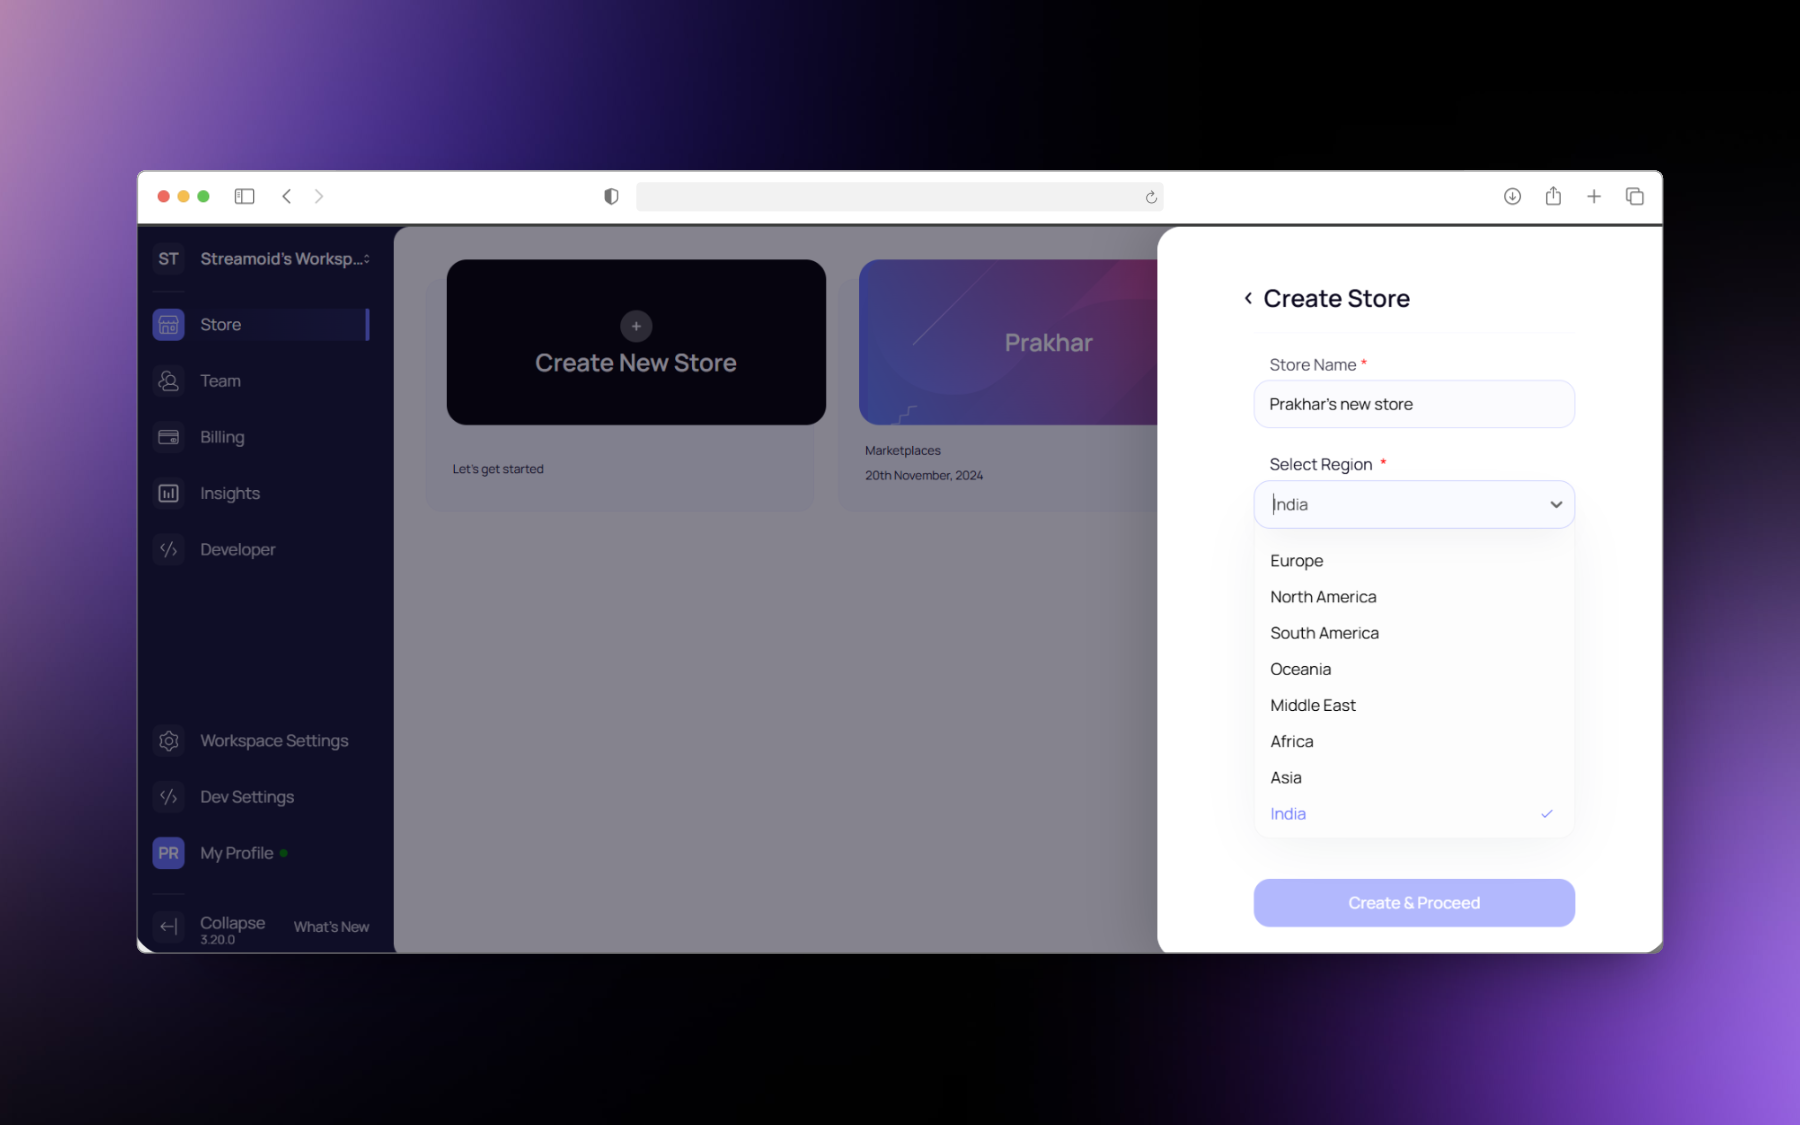 4. Select the mode the in which you sell to your customers. You have to select at least one mode but you can select multiple modes as well.
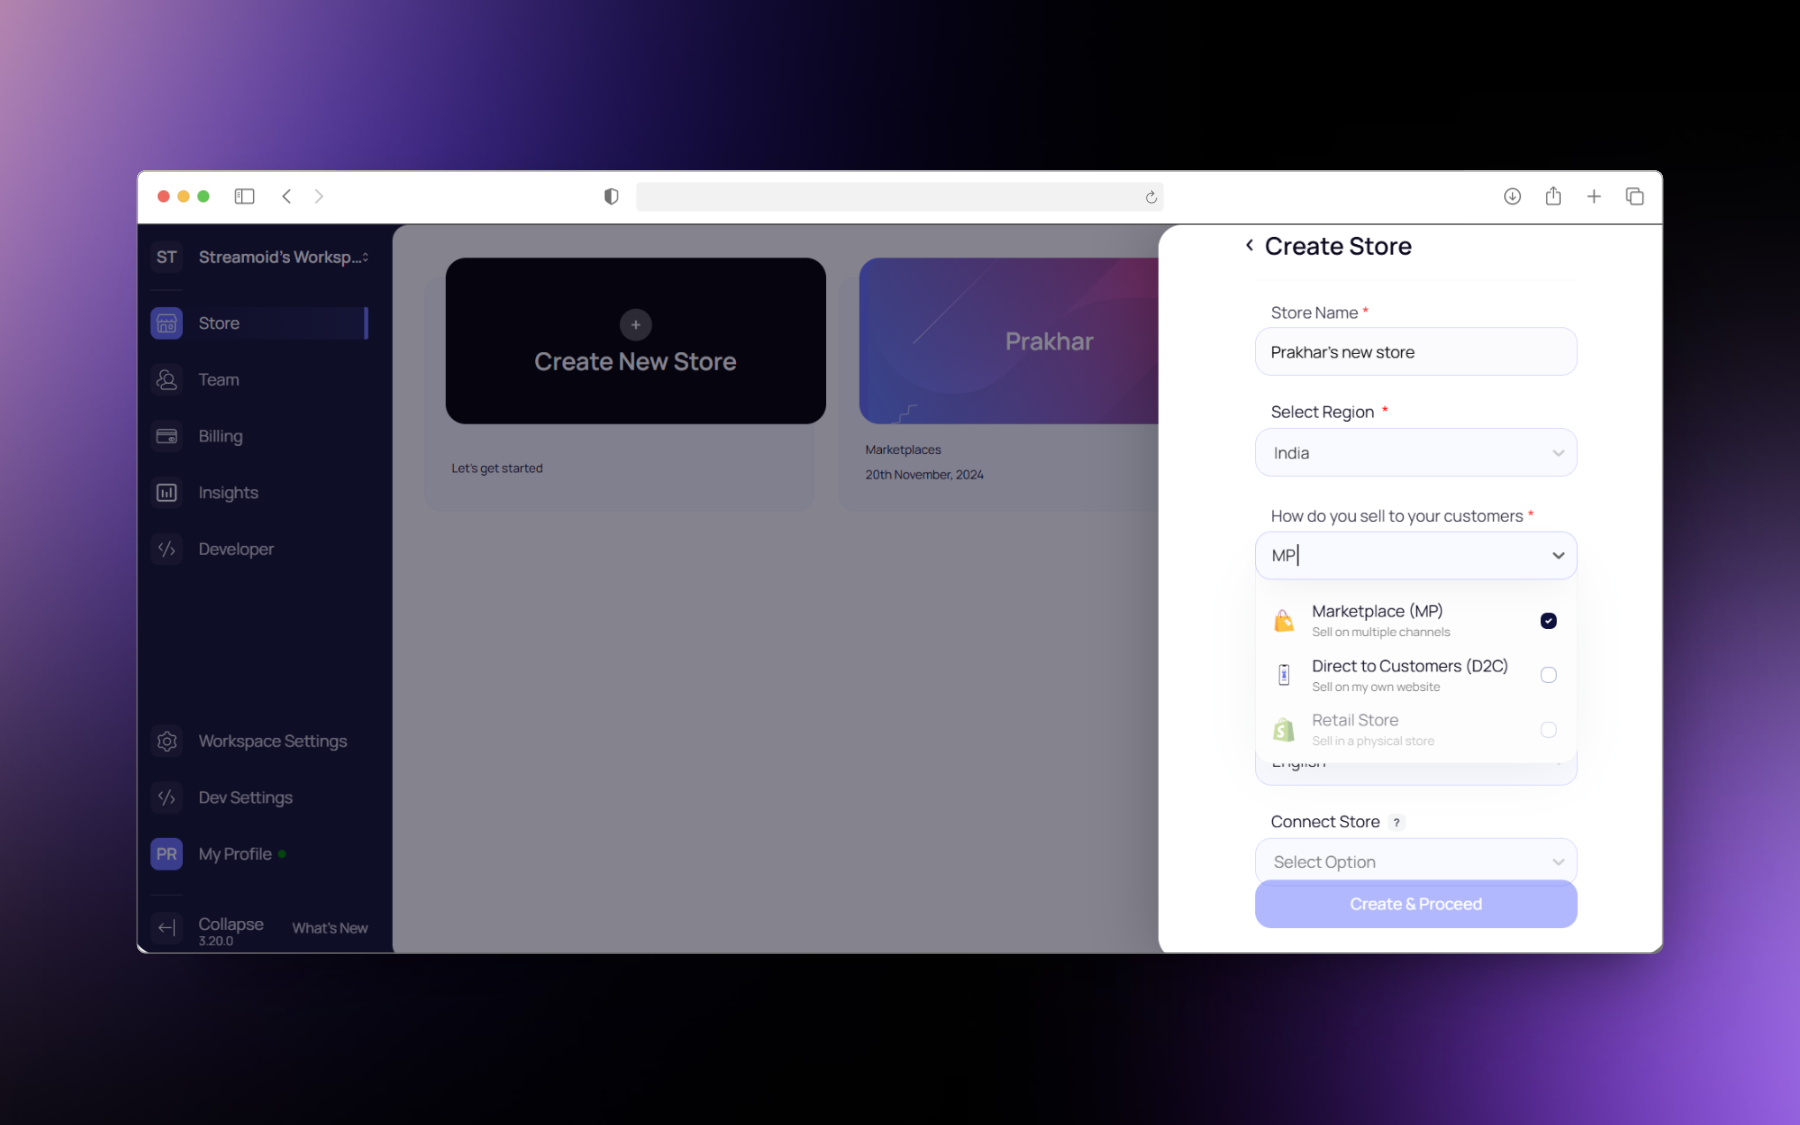 4. Select the channels where you sell your products. You can select multiple options.
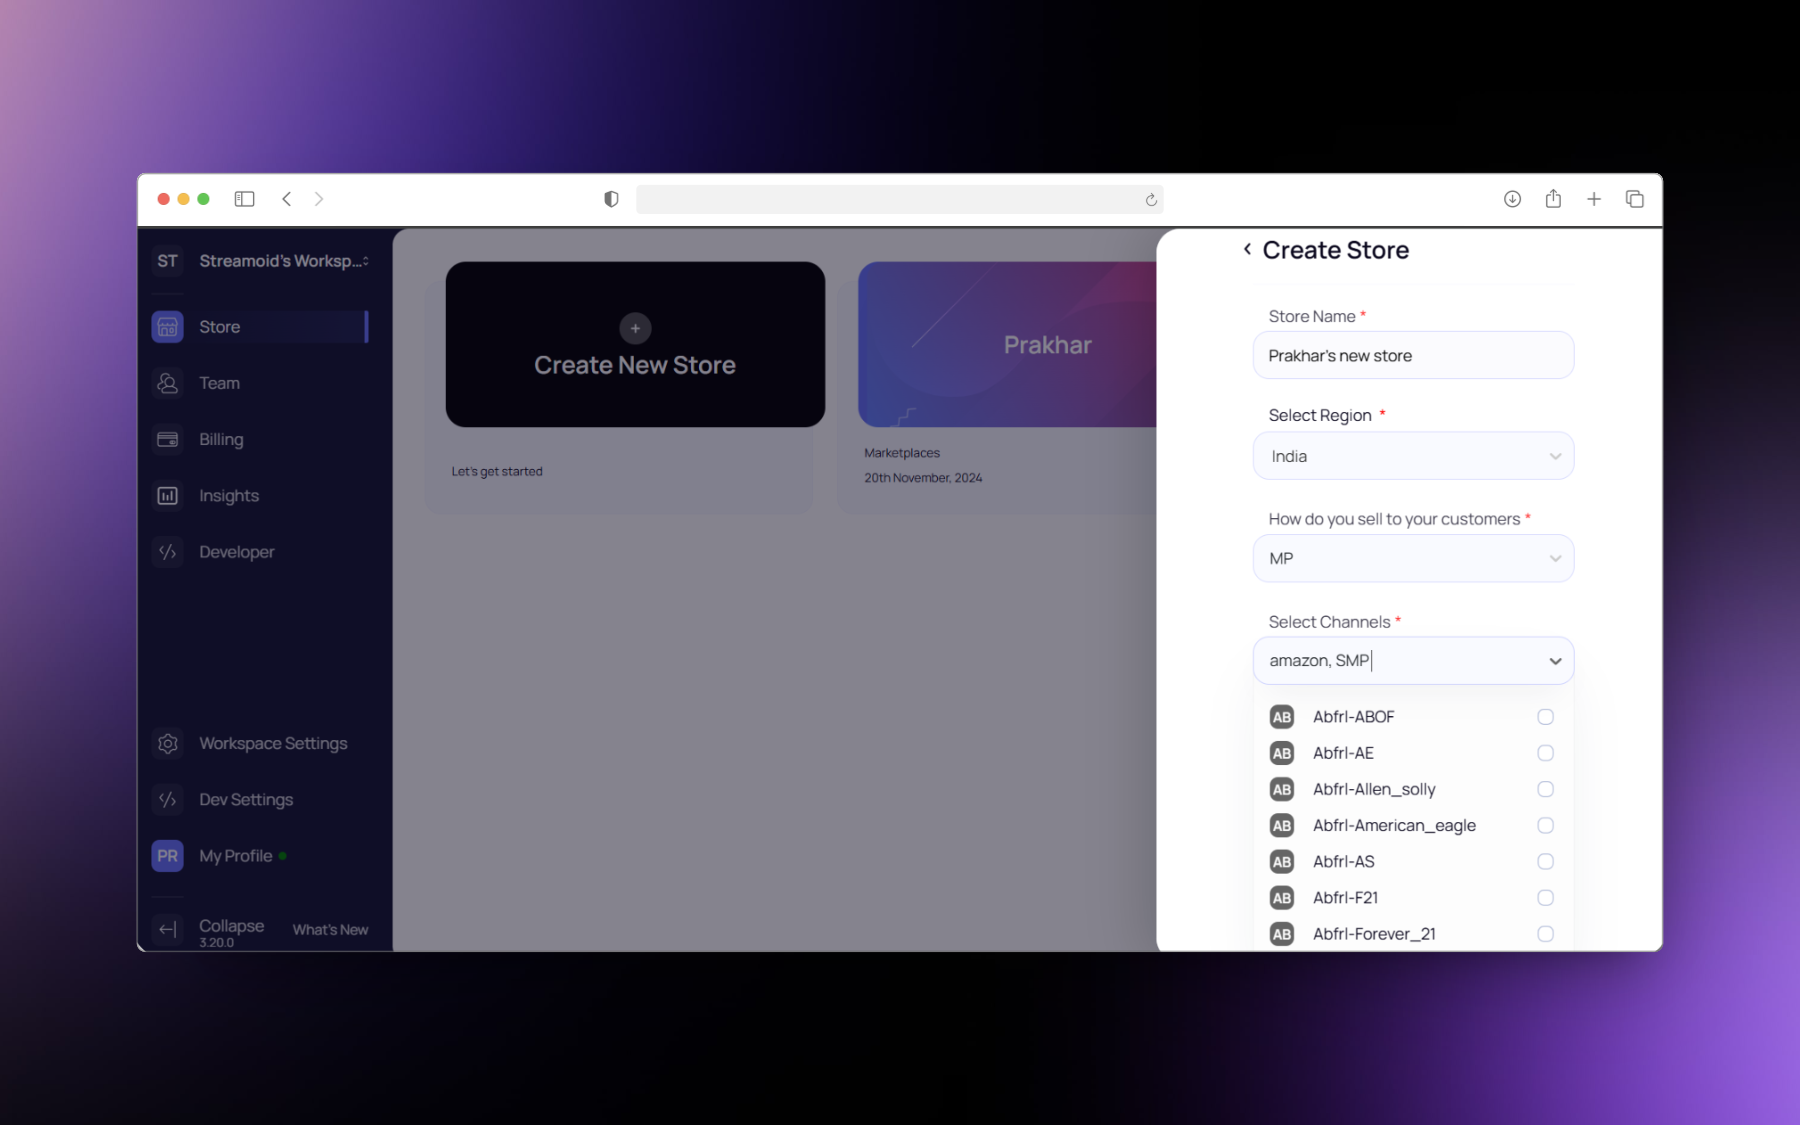 5. Select the language that you use for your e-commerce listing.
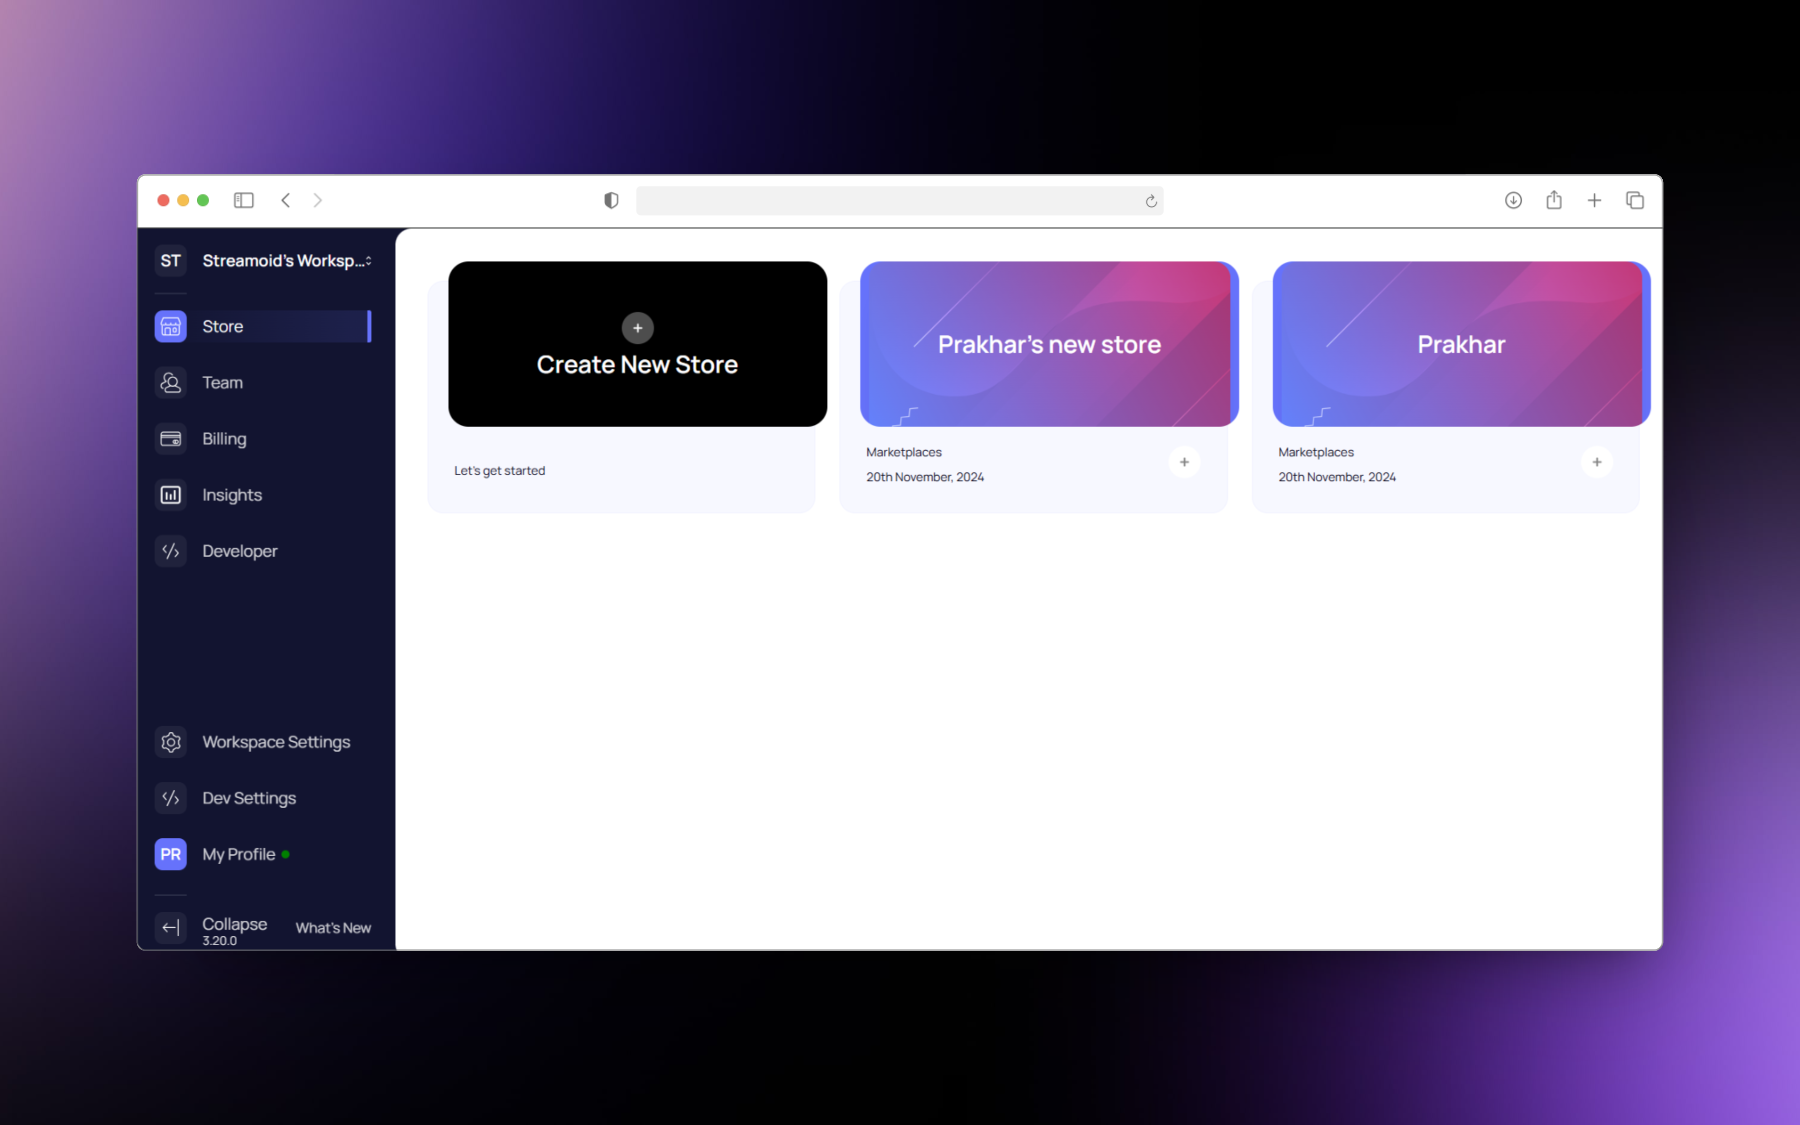
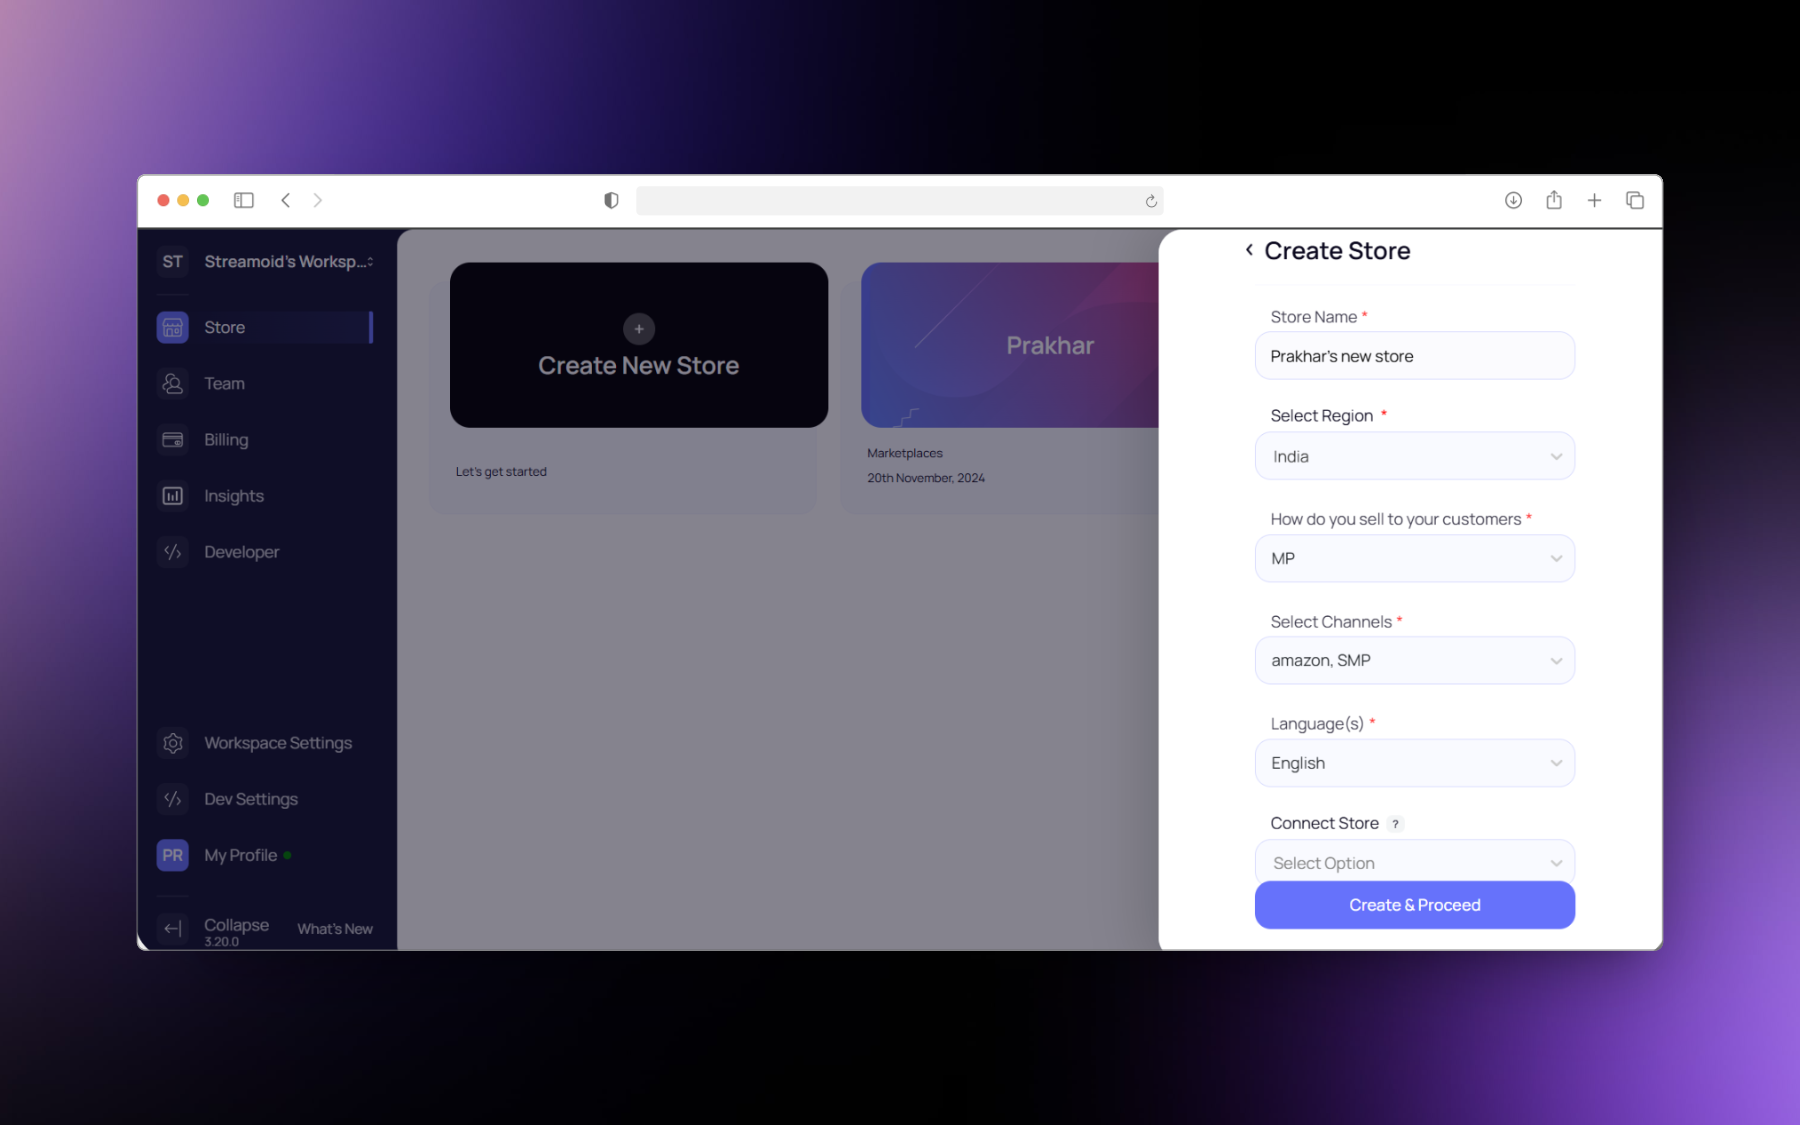 6. Click on **create and proceed**. Your store is ready to use.
 **Step 3: Define Store Taxonomy**
The user can choose to define the taxonomy from scratch or use the Streamoid MarketPlace (SMP) directly.
If the user defines the taxonomy from scratch then it there needs to be a one-time mapping of the taxonomy to SMP.
**Step 3: Define Store Taxonomy**
The user can choose to define the taxonomy from scratch or use the Streamoid MarketPlace (SMP) directly.
If the user defines the taxonomy from scratch then it there needs to be a one-time mapping of the taxonomy to SMP.
**Step 4: Import Products.**
The user can import products to their catalog store through multiple ways: CSV import, feed URL import, Shopify store connector. More a detailed guide on importing products to a store.
Refer: (hyperlink to import products section).
**Step 5: Run an automation.**
Catalogix provides a large number of automations like AI-powered attribution, AI powered product content generator, etc that can be used for speeding up the cataloging process. After the products have been imported to the store. You can select your products run the desired automatin on them. You can track the progress/completion of the automation from the Activity tab.
**Step 6: Export Products**
After the automation has been run on the products and the desired results have been achieved then you can export the products from the store in any of required format. You can export the products in the current view( the exported file will have data in same format as the PLP view) or in the template of the marketplace you want to list on.